In the past, building an AI agent was a time-consuming process involving manual configuration, connecting blocks, and extensive testing. Today, there’s a revolutionary approach that allows you to create AI agents simply by conversing with an AI. This guide will walk you through a powerful system that integrates Anthropic’s Claude with n8n via Docker, enabling you to build sophisticated AI agents much faster and more efficiently than traditional methods.
The System Explained
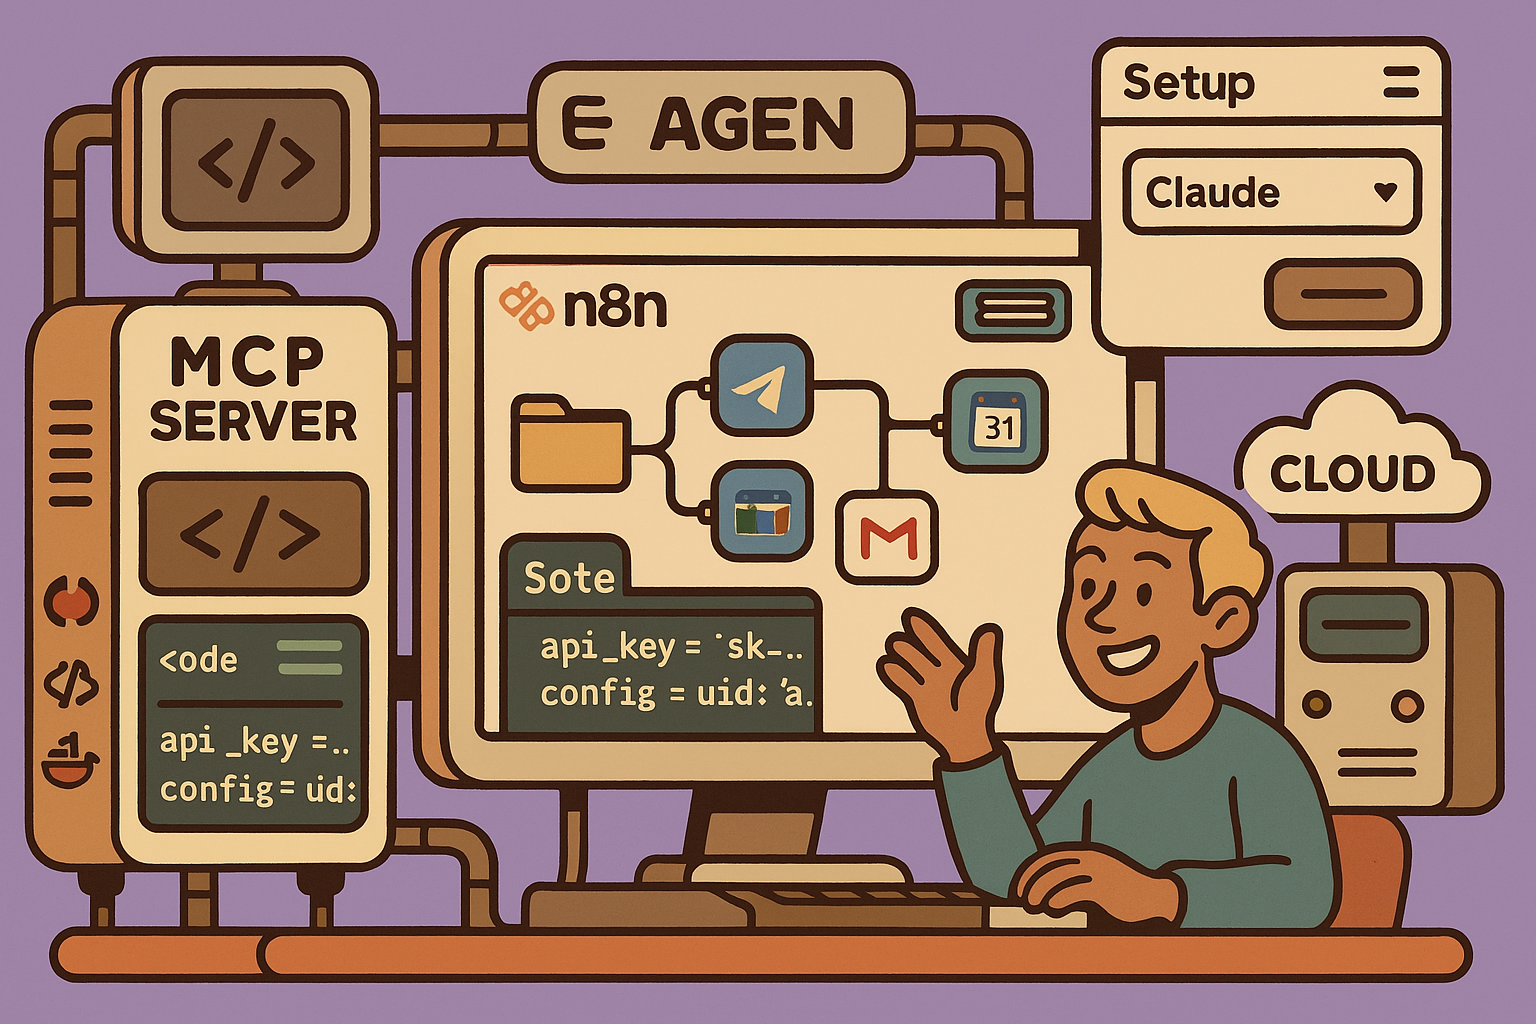
The core of this system involves using Claude as your intelligent assistant to design and deploy n8n workflows. To bridge the communication between Claude and n8n, a specialized n8n Message Communication Protocol (MCP) server is used, running efficiently within a Docker container.
- Claude Desktop: This is your primary interface. You’ll communicate naturally with Claude, describing the AI agent you want to create.
- n8n MCP Server: This acts as the intermediary. It’s a small server that allows Claude to send instructions to n8n.
- Docker: Instead of manually installing the MCP server, Docker simplifies the process. Docker containers package applications and all their dependencies, ensuring they run consistently across different environments (Mac, PC, etc.). Think of it as a pre-cooked meal—everything is prepared; you just need to launch it.
- n8n Instance: This is where your AI agents and workflows will be created and run. You can use n8n Cloud or a self-hosted instance (e.g., via a Virtual Private Server like Hostinger).
This setup streamlines the agent creation process, allowing Claude to directly build workflows within your n8n instance.
Step-by-Step Implementation
This guide assumes you have basic computer literacy. Even if you’re not a developer or familiar with Docker, the steps are straightforward.
Step 1: Install Docker and Claude Desktop
- Install Docker Desktop: Download and install Docker Desktop for your operating system (Mac or PC) from the official Docker website. It’s free.
- Install Claude Desktop: Download and install the Claude Desktop application for your operating system.
Step 2: Set up the n8n MCP Server with Docker
- Open Docker: Once installed, open your Docker Desktop application.
- Pull the n8n MCP Image: Open your terminal or command prompt and execute the following command. This command pulls the necessary Docker image, which contains everything required for the MCP server to function.
docker pull ghcr.io/czlonkowski/n8n-mcp:latestThis downloads the pre-configured environment for the n8n MCP, ensuring compatibility regardless of your machine.
Step 3: Configure Claude Desktop
- Access Claude Settings: Open Claude Desktop. In the top right corner, click on the Claude icon and navigate to ‘Settings’.
- Developer Settings: Go to the ‘Developer’ section and click on ‘Edit Config’.
- Modify Configuration File: This will open a configuration file (likely a JSON file) in a text editor. You will need to paste a specific command line into this file. This command will typically involve an array where you define the
toolsproperty. An example structure might look like this:{ "mcpServers": { "n8n-mcp": { "command": "docker", "args": [ "run", "-i", "--rm", "--init", "-e", "MCP_MODE=stdio", "-e", "LOG_LEVEL=error", "-e", "DISABLE_CONSOLE_OUTPUT=true", "-e", "N8N_API_URL=https://your-n8n-instance.com", "-e", "N8N_API_KEY=your-api-key", "ghcr.io/czlonkowski/n8n-mcp:latest" ] } } }You will replace
YOUR_N8N_INSTANCE_URLandYOUR_N8N_API_KEYwith actual values from your n8n instance in a later step. - Save and Restart Claude: Save the modified configuration file, then close and restart Claude Desktop for the changes to take effect. If configured correctly, you should not see any error messages upon restart.
Step 4: Configure n8n
You need an n8n instance. You have two main options:
- n8n Cloud: Sign up for an n8n Cloud account. They usually offer a free trial.
- Self-Hosted n8n (VPS): For a more economical and flexible solution, you can host n8n on a Virtual Private Server (VPS). Services like Hostinger offer affordable and powerful VPS plans where you can easily deploy n8n, which is open-source. This allows for unlimited AI agents, unlike some n8n Cloud plans.
Once your n8n instance is ready:
- Retrieve n8n API Key:
- Log in to your n8n instance.
- Go to ‘Settings’ (usually a gear/cog icon).
- Find ‘n8n API’ and click ‘Create New API Key’.
- Give it a name (e.g., “Claude MCP”).
- Copy the generated API key immediately and store it securely. This key acts as a password, granting access to create and modify workflows.
- Retrieve n8n Instance URL:
- Simply copy the full URL of your n8n instance from your browser’s address bar (e.g.,
https://your-n8n-domain.com/).
- Simply copy the full URL of your n8n instance from your browser’s address bar (e.g.,
- Update Claude Configuration: Now, go back to the Claude Desktop configuration file (from Step 3) and paste your copied n8n API Key and n8n Instance URL into the
n8nApiKeyandn8nApiUrlfields, respectively. - Restart Claude Again: Save the Claude Desktop configuration file and restart Claude Desktop one last time. Upon successful connection, Claude will indicate that the n8n MCP is connected and display the number of available tools (e.g., 39 tools).
Step 5: Interact with Claude to Create AI Agents
- Prepare Claude with a System Prompt: To guide Claude effectively, provide a comprehensive system prompt at the beginning of your conversation. This prompt instructs Claude on its role and capabilities.
- Option 1 (Claude Projects - recommended if available): If you have access to Claude Projects (usually with a paid Claude account), create a new project and add this prompt to the project instructions.
- Option 2 (Standard Chat): If not, simply paste the prompt as your very first message in a new chat session.
A strong initial prompt is crucial for Claude to understand its task. It should define its persona, its ability to interact with n8n, and outline what it can accomplish. The video example effectively uses a detailed prompt to set up Claude for creating workflow automations.
-
Describe Your AI Agent: Now, simply describe the AI agent you want to create in natural language. Be as detailed as possible to get the best results.
Example AI Agent Request: “Create an agenda assistant agent with a Telegram trigger that handles both audio and text messages. If it’s a voice message, download it, then transcribe the audio using OpenAI’s transcription service. If it’s a text message, send it directly to the agent. This agent should manage a Google Calendar, capable of listing, creating, modifying, and deleting events. It should also be able to send emails via Gmail. The agent should use GPT-4o for its core logic and have a simple memory of 10 historical messages. Ensure all tools are correctly connected to their respective outputs. Finally, add this workflow directly to my n8n instance.”
Claude will then process your request, identifying the necessary n8n nodes, verifying the workflow architecture, and finally creating the complete workflow (including its JSON representation) directly within your n8n instance.
Step 6: Configure and Test Your AI Agent in n8n
- Refresh n8n: Go to your n8n instance and refresh the page. You should see the newly created workflow (e.g., “Agenda Assistant”) automatically added to your list of workflows.
- Configure Credentials: While Claude creates the workflow structure, you will still need to manually configure credentials for external services like Telegram, OpenAI, Google Calendar, and Gmail within n8n.
- Telegram: Create a new bot via Telegram’s BotFather (
/newbotcommand), get its API token, and input it into n8n’s Telegram node credentials. - OpenAI: Obtain an API key from your OpenAI account and configure it in n8n’s OpenAI node.
- Google Calendar/Gmail: Authenticate your Google account in n8n. This often involves creating OAuth 2.0 credentials in the Google Cloud Console and enabling the necessary APIs (e.g., Gmail API, Google Calendar API).
- Telegram: Create a new bot via Telegram’s BotFather (
- Test the Workflow: Once all credentials are configured and nodes are correctly linked, activate the workflow in n8n. Test it by sending messages to your Telegram bot (text and voice) and verify that the agent performs its intended actions (e.g., transcribing audio, managing calendar events, sending emails).
Benefits of This Approach
This integrated system offers significant advantages:
- Speed and Efficiency: Create complex AI agents in minutes using natural language, significantly reducing development time.
- Accessibility: Even non-developers can build powerful AI solutions.
- Scalability: Once configured, you can rapidly deploy various AI agents for different tasks.
- Integration: Seamlessly connects advanced AI capabilities (Claude, GPT-4o) with powerful automation platforms (n8n).
While some manual configuration for credentials will always be necessary, particularly for new accounts or specific connections, the bulk of the workflow creation is automated, making this an incredibly powerful method for anyone looking to leverage AI and automation.
🔍 Discover Kaptan Data Solutions — your partner for medical-physics data science & QA!
We're a French startup dedicated to building innovative web applications for medical physics, and quality assurance (QA).
Our mission: provide hospitals, cancer centers and dosimetry labs with powerful, intuitive and compliant tools that streamline beam-data acquisition, analysis and reporting.
🌐 Explore all our medical-physics services and tech updates
💻 Test our ready-to-use QA dashboards online
Our expertise covers:
🔬 Patient-specific dosimetry and image QA (EPID, portal dosimetry)
📈 Statistical Process Control (SPC) & anomaly detection for beam data
🤖 Automated QA workflows with n8n + AI agents (predictive maintenance)
📑 DICOM-RT / HL7 compliant reporting and audit trails
Leveraging advanced Python analytics and n8n orchestration, we help physicists automate routine QA, detect drifts early and generate regulatory-ready PDFs in one click.
Ready to boost treatment quality and uptime? Let’s discuss your linac challenges and design a tailor-made solution!
Get in touch to discuss your specific requirements and discover how our tailor-made solutions can help you unlock the value of your data, make informed decisions, and boost operational performance!
Comments