The latest AI models, while powerful, often come with a monthly subscription fee and limitations that hinder true automation. Imagine an AI agent that could handle repetitive tasks, like summarizing your weekly calendar and sending a concise email, all without recurring costs or privacy concerns. This article provides a comprehensive guide to setting up your own AI agent using open-source tools like GPT-OSS and n8n, enabling seamless, personalized automation directly on your PC.
The Limitations of Paid AI Services
Current paid AI services, while offering impressive capabilities, often fall short when it comes to long-term, custom automation.
- Cost: Monthly subscriptions can add up, especially for functionalities that are not fully utilized.
- Scalability & Queries: There are often limits on the number of requests or “tokens” you can use, leading to additional costs or waiting times if you exceed them.
- Automation: Automating tasks, such as triggering an action weekly, is typically not natively supported, as the AI primarily functions based on real-time commands.
- Data Security: Giving proprietary AI models access to personal data (like your Gmail account) can raise significant privacy concerns.
- Customization: Tailoring the AI’s behavior and integrating it with various tools can be challenging and often requires extensive prompting.
The Power of Free and Open-Source Alternatives
The good news is that you can replicate and even surpass the capabilities of paid AI agents using open-source alternatives. This setup leverages n8n for visual automation and GPT-OSS, an open-source alternative to proprietary AI models.
What is n8n? n8n is a powerful, visual, and functional automation tool that allows you to create workflows without needing to write code. It integrates seamlessly with various APIs and services, including Google Calendar, Gmail, and many more, making it ideal for custom automation.
What is an AI Agent? An AI agent is an artificial intelligence that can not only “think” (process information and reason) but also “act.” It can search for information, utilize tools, interact with various platforms, and make decisions autonomously, much like a personal assistant.
Why Combine n8n and GPT-OSS? By integrating n8n with GPT-OSS, you can create a powerful, autonomous AI agent that runs locally on your machine. This combination offers several key advantages:
- No Cost Per Token: Since GPT-OSS runs locally, there are no costs associated with individual requests or tokens.
- Total Confidentiality: Your data remains on your PC; no external servers process your personal information.
- Full Context Control: You have complete control over the AI’s prompt, memory, and the tools it uses throughout the workflow.
- Local Hosting: Avoids cloud hosting fees, though it means your PC must be on for the workflows to run.
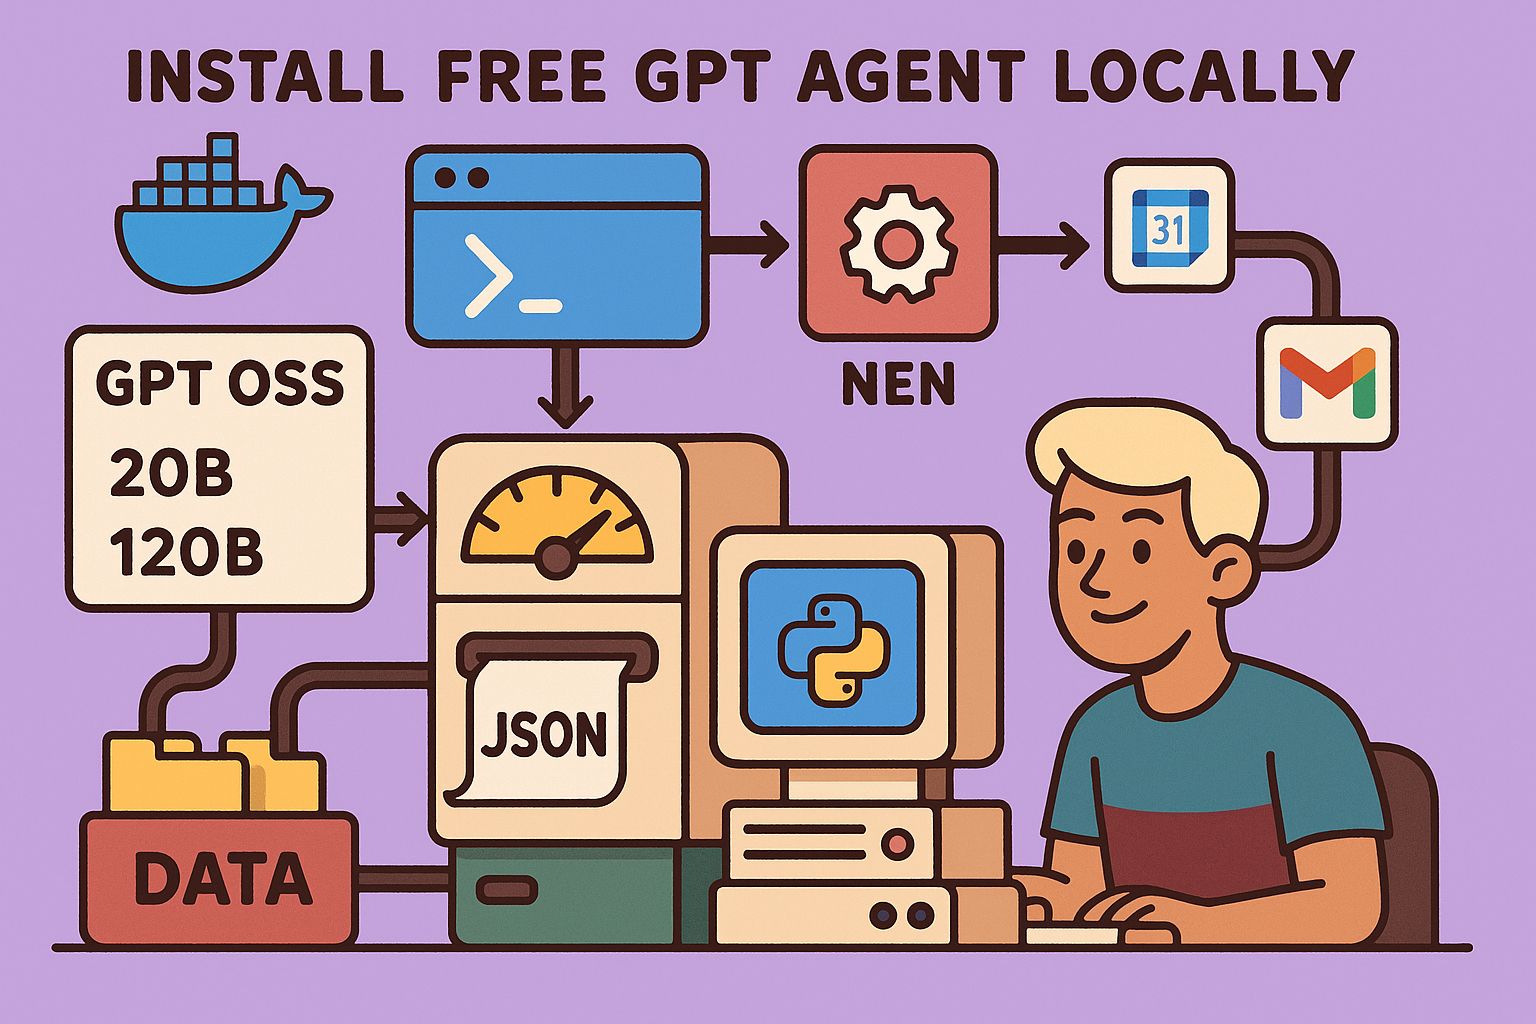
GPT-OSS: Your Local AI Model GPT-OSS is an open-source alternative to commercial AI models that can be installed directly on your computer. It comes in different versions, such as 20B (20 billion parameters, ~12GB disk space) and 120B (120 billion parameters, ~80GB disk space). The 20B version is often sufficient for most personal automation tasks and is less demanding on your system. It offers competitive performance compared to older versions of proprietary AI models, all for free.
Step-by-Step Setup Guide
This guide will walk you through the installation of Docker, PowerShell, Olama, and n8n, and then demonstrate how to configure your AI agent.
Step 1: Install Docker and PowerShell
- Install Docker: Docker is a platform that allows you to run applications in isolated environments called containers. This simplifies the deployment of n8n and other services.
- Go to the Docker website and download the Docker Desktop application for your operating system (Mac, Windows, or Linux).
- Follow the installation instructions, which may require restarting your PC.
- Install PowerShell: PowerShell is a command-line shell and scripting language. You’ll use it to execute commands for setting up your environment.
- If you’re on Windows, open the Microsoft Store, search for “PowerShell,” and install it.
Step 2: Set up n8n with Docker Compose
- Download
docker-compose.yml: This file contains the configuration for setting up n8n and its dependencies within Docker.- Access the provided external link (e.g., a community school or repository) and download the
docker-compose.ymlfile. This file pre-configures everything needed for your n8n instance.
- Access the provided external link (e.g., a community school or repository) and download the
- Open PowerShell and Navigate:
- Open PowerShell.
- Use the
cdcommand to navigate to the directory where you saved thedocker-compose.ymlfile (e.g.,cd Desktopif it’s on your desktop).
- Run Docker Compose:
- Copy and paste the following command into PowerShell and press Enter:
docker compose up -d - This command will download and run all the necessary Docker images and set up your n8n environment. This process may take some time depending on your internet connection.
- Copy and paste the following command into PowerShell and press Enter:
Step 3: Install Olama (for GPT-OSS)
- Download Olama: Olama is a tool that allows you to run large language models (LLMs) locally.
- Go to the Olama website (olama.ai) and download the installer for your operating system.
- Run the installer and follow the instructions.
- Download GPT-OSS Model: Once Olama is installed, you can download the GPT-OSS model.
- Open your command prompt or terminal.
- Type
olama run gpt-oss:20b(orgpt-oss:120bif you prefer the larger model and have sufficient resources). - Olama will download the specified model. This might take some time as the models are several gigabytes in size.
Step 4: Access and Configure n8n
- Access n8n: Once Docker Compose has finished, open your Docker Desktop application. You should see your n8n container running.
- Click on the n8n service from the Docker Desktop UI, which will usually open n8n in your web browser (typically at
http://localhost:5678). - Follow the on-screen instructions to create your n8n account (username and password).
- Click on the n8n service from the Docker Desktop UI, which will usually open n8n in your web browser (typically at
- Connect n8n to Olama:
- In n8n, open a new workflow or select an existing one.
- Add an “AI Agent” node.
- In the AI Agent node configuration, delete any default model references (like “OpenAI Model”) that might be there.
- Add a new “Olama” credential. For the “Host” field, use
host.docker.internal(this allows the n8n container to communicate with Olama running on your host machine). - Save the credential.
- Back in the AI Agent node, select the Olama credential you just created.
- For the “Model,” choose “gpt-oss:20b” (or “_120b” if you downloaded that one).
- Integrate Google Services: To allow your AI agent to interact with your Google Calendar and Gmail, you’ll need to set up Google Calendar and Gmail nodes in n8n.
- Add a “Google Calendar” node and a “Gmail” node to your workflow.
- For each, you’ll need to create credentials by linking your Google account. This involves going to the Google Cloud Console, creating a new project, enabling the Google Calendar API and Gmail API, and then generating OAuth 2.0 client IDs.
- Follow n8n’s documentation or external tutorials for detailed steps on setting up Google API credentials, as this can be complex. Typically, you’ll select “Get Many Events” for the Google Calendar node and “Send Email” for the Gmail node.
Step 5: Build Your Automated Workflow
Now that your tools are set up, let’s create the weekly calendar summary automation.
- Set up the Trigger:
- Add a “Schedule Trigger” node to kick off your workflow.
- Configure it to run “Every Week” on “Sunday” at “Midnight.”
- Configure the AI Agent (System Message):
- In the AI Agent node, focus on the “System Message” (or “System Prompt”). This is where you define the AI’s role and instructions.
- Use a sophisticated prompt to guide the AI. An example might be:
"You are a personal assistant. Your task is to analyze Aurélien's calendar for the upcoming week, starting tomorrow (Monday). For each event, retrieve relevant information, including descriptions of the people involved. Compile a comprehensive summary of all professional and personal events, and send it as a single email to Aurélien." - You can also include tools like “HTTP Request” to allow the AI to perform deep research online (e.g., searching for information on contacts).
- Dynamic Prompting with Variables:
- Use n8n’s drag-and-drop functionality to insert dynamic variables from previous nodes into your prompt. For example, drag the “Date” from the Schedule Trigger node into your prompt so the AI knows the current date and can accurately determine the upcoming week.
- Connect All Nodes:
- Connect the “Schedule Trigger” to the “AI Agent.”
- Connect the “AI Agent” to the “Google Calendar” node (for reading events).
- Connect the “AI Agent” to the “HTTP Request” node (for external research, if desired).
- Connect the “AI Agent” to the “Gmail” node (for sending the summarized email).
- Test and Activate:
- Manually “Execute Workflow” to test if everything runs as expected. Check your Gmail inbox for the summary.
- Once satisfied with the results, activate the workflow in n8n. This will make it run automatically according to your schedule.
Conclusion
By following these steps, you can set up a powerful and private AI agent that automates tasks without incurring subscription fees or compromising your data security. This open-source approach empowers you to leverage AI for personal productivity and business automation, giving you full control over your intelligent workflows. The ability to customize, integrate, and run these agents locally provides a significant advantage over many commercial offerings, ensuring that your AI works exactly how you need it to, when you need it to.
🔍 Discover Kaptan Data Solutions — your partner for medical-physics data science & QA!
We're a French startup dedicated to building innovative web applications for medical physics, and quality assurance (QA).
Our mission: provide hospitals, cancer centers and dosimetry labs with powerful, intuitive and compliant tools that streamline beam-data acquisition, analysis and reporting.
🌐 Explore all our medical-physics services and tech updates
💻 Test our ready-to-use QA dashboards online
Our expertise covers:
🔬 Patient-specific dosimetry and image QA (EPID, portal dosimetry)
📈 Statistical Process Control (SPC) & anomaly detection for beam data
🤖 Automated QA workflows with n8n + AI agents (predictive maintenance)
📑 DICOM-RT / HL7 compliant reporting and audit trails
Leveraging advanced Python analytics and n8n orchestration, we help physicists automate routine QA, detect drifts early and generate regulatory-ready PDFs in one click.
Ready to boost treatment quality and uptime? Let’s discuss your linac challenges and design a tailor-made solution!
Get in touch to discuss your specific requirements and discover how our tailor-made solutions can help you unlock the value of your data, make informed decisions, and boost operational performance!
Comments