Claude Code is an AI assistant designed to work directly within your development environment, simplifying the process of building, debugging, and deploying projects. This powerful tool caters to beginners with no coding experience, entrepreneurs looking for autonomy, and innovators eager to explore new tech. It allows you to rapidly construct projects without technical skills, acting as an intelligent agent that reads, creates, and modifies code autonomously.
Understanding Claude Code’s Capabilities
Claude Code is fundamentally an AI that operates within your project files. Unlike conversational AI, it takes direct action:
- File Creation & Modification: It can generate new files or alter existing code within a designated folder.
- Project Structuring: It helps organize project directories and files.
- Error Correction: It can debug code and identify issues.
- Explanation: It can explain the changes it has made or the code it has generated.
Security Measure: It’s crucial to understand that Claude Code only interacts with the specific folder you open it in and only modifies what you explicitly allow. Always review proposed changes before execution to prevent unintended alterations. When prompted, you can choose to authorize actions individually or allow full autonomy for the current session.
Claude Code vs. Other Claude Interfaces
It’s common to misinterpret the intelligence levels of different Claude interfaces. Here’s a clarification:
- Claude Web Application (
Claude.ai): Difficulty 1/4. This is the simplest interface, allowing conversational interaction via your browser. - Claude Desktop: Difficulty 1/4. Similar to the web app, but installed as a standalone application on your PC.
- Claude Code: Difficulty 3/4. This is where Claude integrates with your terminal, enabling direct code manipulation. While it involves command-line interactions, it’s designed to be straightforward.
- Claude API: Difficulty 4/4. The most advanced integration, used for programmatic requests via Python, JavaScript, etc.
Important Note: All these interfaces utilize the same underlying Claude AI model. The quality of responses and actions does not differ; only the user interface and interaction methods change.
Practical Use Cases for Claude Code
Claude Code is ideal for:
- New Project Initialization: Starting a project from scratch in an empty folder.
- Rapid Website Generation: Quickly building landing pages or simple web applications.
- Code Correction: Fixing bugs in existing projects.
- Idea Prototyping: Rapidly creating v1, v2, v3 iterations of project ideas.
It’s not a magic no-code tool, but a powerful professional production instrument accessible to beginners. You specify the objective, and Claude Code executes.
Pricing Models
Claude Code offers two main cost models:
- Subscription: Access Claude Code via your existing Claude.ai subscription (e.g., $20/month for Claude Pro). This is ideal for beginners as it uses your predefined monthly limits without additional charges until those limits are reached.
- API Usage: Pay-as-you-go, calculated by tokens (text processed). This model incurs costs based on consumption, which can add up quickly for intensive projects.
Essential Terminal Commands for Claude Code
While Claude Code handles much of the complexity, knowing these basic terminal commands will significantly enhance your experience:
pwd: “Print Working Directory” – Shows your current location in the file system.ls: “List” – Displays the contents (files and folders) of your current directory.cd [folder_name]: “Change Directory” – Navigates into a specified folder.cd ..: “Change Directory Back” – Moves one level up in the directory hierarchy.clear: Clears the terminal screen.
Step-by-Step How-To: Setting Up and Using Claude Code
This section will guide you through the process of installing Claude Code, preparing your environment, and launching your first project.
1. Prepare Your Environment
- Computer: Ensure you have a functioning computer (Mac or Windows).
- Project Idea: Have a clear idea of what you want to build. This helps in formulating your initial prompt.
- Empty Folder: For beginners, it’s recommended to start with an empty folder for your project to avoid accidental modifications to existing files.
2. Install Claude Code
- Open Terminal:
- Mac: Press
Cmd + Spaceto open Spotlight, typeTerminal, and press Enter. - Windows: Press
Win + R, typecmd, and press Enter.
- Mac: Press
- Copy Installation Command: Go to the official Claude Code website and copy the installation command relevant to your operating system (e.g.,
curl -sL https://install.cloudcode.io | bashfor Mac/Linux). - Paste & Execute: Paste the command into your terminal and press Enter. The installation process may take a few moments. You’ll see a success message like “Claude Code successfully installed.”
3. Log In to Claude Code
- Launch Claude Code: In your terminal, type
cloudand press Enter. - Choose Theme: Use arrow keys to select your preferred interface theme (e.g., “Colorblind Friendly”) and press Enter.
- Connect Account: Choose “Use my current Cloud account” to link it with your existing Claude.ai subscription. This will open your web browser, prompting you to authorize the connection. Ensure you are already logged into Claude.ai in your browser.
- Confirm Settings: Press Enter to proceed through initial warnings about AI limitations and prompt injections. When asked to “Use recommended settings,” select “Yes” and confirm that Claude Code can read, edit, and execute files within your PC.
4. Navigate to Your Project Folder
- Create a New Folder: Create an empty folder on your desktop or preferred location (e.g.,
test_cloud_code). - Get Folder Path:
- Mac: Right-click the folder, press and hold
Option, and select “Copy[Folder Name]as Pathname.” - Windows: Open the folder, click on the address bar at the top, and copy the full path.
- Mac: Right-click the folder, press and hold
- Navigate in Terminal: Before running
cloud, use thecdcommand to move into your project folder. For example:cd "/Users/YourName/Desktop/test_cloud_code".- Tip: If you’re currently in a Claude Code session, exit it (
Ctrl+D), clear (clear), then usecdto change your directory before restarting Claude Code.
- Tip: If you’re currently in a Claude Code session, exit it (
- Verify Location: Use
pwdto confirm you are in the correct directory. Then, typecloudand press Enter to launch Claude Code, confirming that it will operate within the selected folder.
5. Configure Model and Start Project
- Select AI Model: Inside Claude Code, type
/modeland press Enter. Choose the most powerful model available (e.g., “Claude 4.5 Opus”). - Enter Your Prompt: Now, describe your project objective in plain language.
- Best Practice: Focus on what you want to achieve, not how to achieve it. Avoid specifying technical stacks unless you have a deep understanding (e.g., “Create a landing page for a luxury car dealership” instead of “Use React and Tailwind CSS to build a landing page”).
- Authorize Actions: Claude Code will propose actions. You can either approve each step (“Yes”) or auto-approve for the session by selecting the option to allow all actions during this session.
- Monitor Progress: Claude Code will then start generating files and code within your designated project folder. You can observe its progress in the terminal.
Example Projects
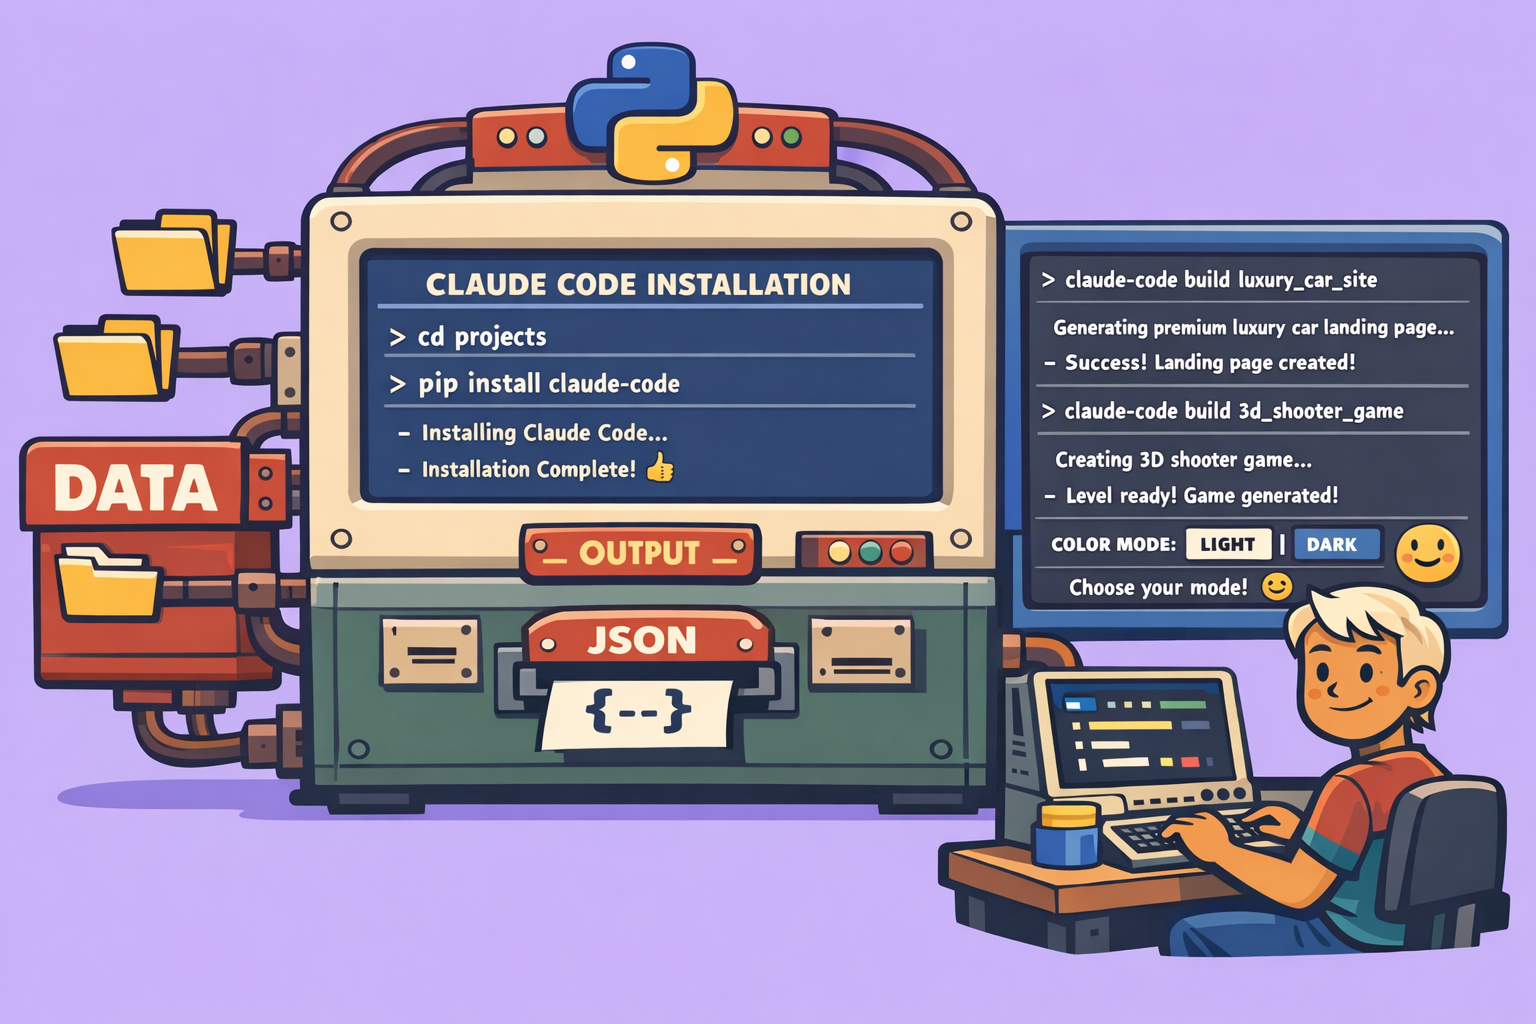
Project 1: Luxury Car Dealership Landing Page
- Prompt: “I need a landing page for a luxury car dealership. The branding is premium, featuring luxury cars. Color palette: gold, black, and white. It needs to be responsive for mobile, tablet, and PC. Do not display prices; only provide them upon request. Include a contact form. It should be a single-page, optimized, modern design.”
- Outcome: Claude Code rapidly generated an
index.htmlfile with all the specified features, including images of luxury cars, a contact form, and a premium aesthetic.
Project 2: Basic 3D Game
- Prompt: “Create a 3D video game where players can move with ZQSD keys, shoot targets, and reach an objective, similar to Call of Duty.”
- Outcome: Claude Code generated a functional 3D game using JavaScript (likely Three.js). The game allowed character movement, shooting mechanics, and a clear objective. This demonstrates Claude Code’s ability to handle more complex, interactive projects.
Leveraging Command-Line Efficiency
While Claude Code is working, you can use built-in commands for monitoring and assistance:
/status: Displays your current Claude Code version, location, active account, and model./usage: Shows your token consumption for the active session and overall monthly usage./help: Provides a list of available commands and shortcuts.- Ask Claude Code directly: If you encounter a term you don’t understand, type it into Claude Code and ask it to explain or simplify.
Conclusion: Build More, Code Less
Claude Code empowers you to go from idea to execution quickly, acting as a powerful AI development partner. You don’t need to be a coding expert; you need to be a visionary who can clearly articulate objectives. By mastering basic terminal navigation and leveraging Claude Code’s capabilities, you can build solid projects, prototype ideas, and significantly accelerate your development workflow.
🔍 Discover Kaptan Data Solutions — your partner for medical-physics data science & QA!
We're a French startup dedicated to building innovative web applications for medical physics, and quality assurance (QA).
Our mission: provide hospitals, cancer centers and dosimetry labs with powerful, intuitive and compliant tools that streamline beam-data acquisition, analysis and reporting.
🌐 Explore all our medical-physics services and tech updates
💻 Test our ready-to-use QA dashboards online
Our expertise covers:
🔬 Patient-specific dosimetry and image QA (EPID, portal dosimetry)
📈 Statistical Process Control (SPC) & anomaly detection for beam data
🤖 Automated QA workflows with n8n + AI agents (predictive maintenance)
📑 DICOM-RT / HL7 compliant reporting and audit trails
Leveraging advanced Python analytics and n8n orchestration, we help physicists automate routine QA, detect drifts early and generate regulatory-ready PDFs in one click.
Ready to boost treatment quality and uptime? Let’s discuss your linac challenges and design a tailor-made solution!
Get in touch to discuss your specific requirements and discover how our tailor-made solutions can help you unlock the value of your data, make informed decisions, and boost operational performance!
Comments