In today’s fast-paced technological landscape, the ability to rapidly develop custom tools and AI agents can be a significant competitive advantage. This comprehensive guide, based on a detailed masterclass, demystifies Claude Code, an advanced AI coding agent, and outlines a structured approach to building applications, even for those without prior coding experience.
Gone are the days when bespoke software development meant either exorbitant costs for developers or months spent learning to code, only to find no-code solutions often fall short. Claude Code, combined with strategic methodologies, empowers individuals and teams to transform ideas into deployable products in hours, not weeks.
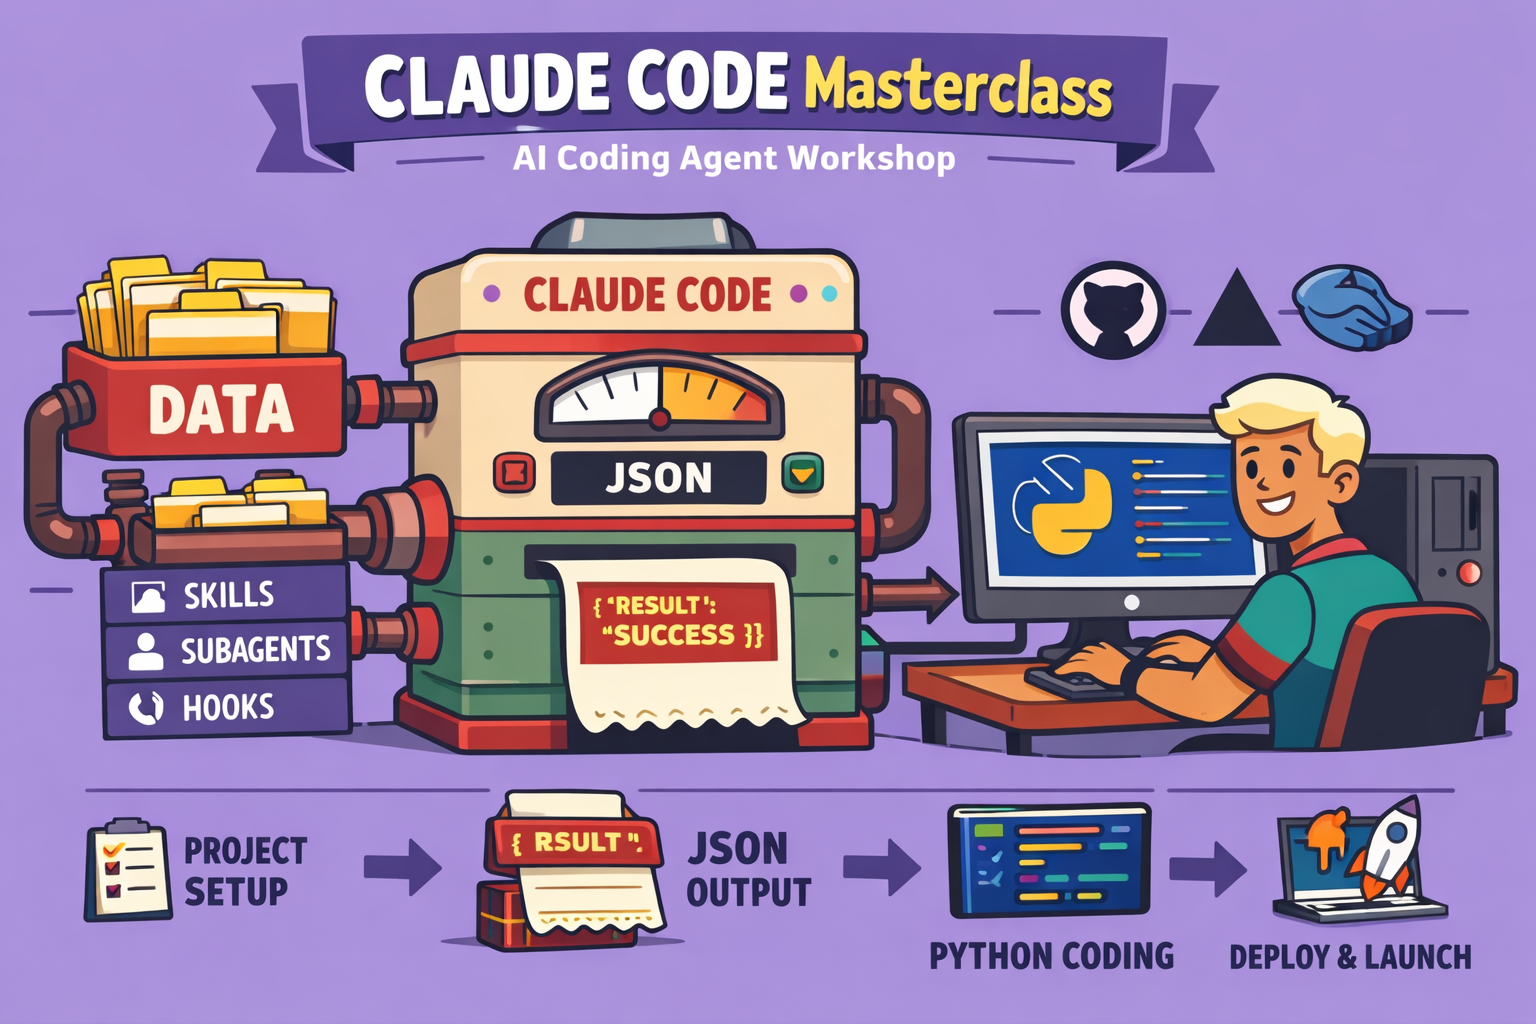
Why Claude Code? The Power of AI Coding Agents
The rise of AI coding agents marks a paradigm shift in software development. These tools, like Claude Code, drastically reduce the time and cost associated with building applications. They leverage large language models (LLMs) to understand, generate, and even test code, making sophisticated development accessible to a broader audience.
Claude Code stands out as a leading AI coding agent, offering advanced features and a robust ecosystem. It’s not just a code generator; it acts as a co-pilot residing on your local machine, specifically within your terminal. This local presence grants it access to your files and system tools, enabling it to perform complex tasks autonomously, from writing code to testing and debugging.
For developers, Claude Code isn’t a replacement but a powerful assistant that takes over repetitive tasks, allowing them to focus on higher-level architecture and problem-solving. For non-developers, it’s a gateway to building custom solutions, transforming them into product managers or creators who guide the AI to bring their visions to life.
Understanding the Claude Code Ecosystem
Before diving into practical application, it’s crucial to grasp a few core concepts that underpin Claude Code’s functionality:
1. The Terminal: Your AI’s Command Center
Unlike web-based LLMs, Claude Code operates within your computer’s terminal (command prompt on Windows, Terminal on macOS/Linux). This often-overlooked, austere-looking window is incredibly powerful, providing direct and precise control over your machine. Claude Code leverages this access to read and write files, execute commands, and interact with your system, just like a human developer would.
For an enhanced terminal experience, consider using Warp. Warp is a free, AI-powered terminal that simplifies command-line interactions, even offering assistance in natural language.
2. Claude Code Pricing and Models
Claude Code offers various pricing tiers, primarily through subscriptions. A standard subscription typically grants access to Claude Code. For more intensive use, max subscriptions provide higher token limits. While an API offers usage-based billing, it’s generally more cost-effective to use subscriptions for regular Claude Code development due to high API call costs.
Claude Code utilizes different LLM models, such as Sonnet, Opus, and Haiku. Sonnet offers a good balance of performance and cost efficiency, making it suitable for most development tasks. Opus is the most advanced but consumes tokens much faster. Haiku is a lighter, more cost-efficient option for simple code generation.
3. Key Claude Code Commands and Features
Mastering a few essential commands will significantly enhance your Claude Code workflow:
Claude: Initiates a Claude Code session in your current directory.Claude --help: Displays available commands and options.exit: Exits the current Claude Code session.control + L(orcmd + L): Clears the terminal screen.@filename.md(or any file extension): References a specific file within your project, allowing Claude Code to read or modify its content.- Drag-and-Drop Files/Screenshots: You can drag files or screenshots directly into the Claude Code prompt to provide context or instructions.
/commands: Special commands (e.g.,/context,/clear,/rewind,/model,/terminal-setup) that perform specific actions./context: Shows your current token usage and context depth. Keeping the context clean is crucial for optimal performance./clear: Clears the current session’s context, effectively starting fresh./rewind(orEscapetwice): Allows you to revert to previous states in your conversation./model: Changes the active LLM model (e.g.,sonnet,opus,haiku)./terminal-setup: EnablesShift + Enterfor new lines in your prompt.
Escapeonce: Interrupts Claude Code’s current operation.
4. Integrated Development Environment (IDE) for Efficiency
While Claude Code works in the standard terminal, using an IDE significantly streamlines the development process. An IDE combines a code editor, a terminal, and other development tools into a single interface.
Visual Studio Code (VS Code) is highly recommended due to its open-source nature, robust features, and extensive extension marketplace. Other alternatives include Google Gravity and Cursor.
Setting up VS Code with Claude Code:
- Install VS Code: Download and install it from the official website.
- Open your project folder: Use
File > Open Folderto navigate to your project directory. - Install the Claude Code Extension: Go to the Extensions view (four squares icon on the left sidebar), search for “Claude Code,” and install the official extension.
- Launch Claude Code within VS Code: Click the orange Claude Code icon in the status bar or use
Command + Shift + P(Mac) /Control + Shift + P(Windows) and typeClaude Code: Open in terminal. This positions Claude Code directly within your project’s context, enabling seamless interaction with files. By default, it opens in “chat mode,” but you can change it to “terminal mode” in VS Code settings for full command access.
5. Managing Permissions
Claude Code requires explicit permission for certain actions (e.g., writing files, accessing the internet). There are three ways to handle this:
- Manual Confirmation: Claude Code asks for permission (Type
yes) for each action. Good for understanding its activities, but tedious for complex tasks. .Claude/settings.json: Create a file namedsettings.jsoninside a.Claudefolder (a hidden folder for configuration files) in your project. This file uses JSON to define allowed actions (e.g.,{"permissions": {"*": ["read", "write", "execute", "web_fetch", "git", "batch", "skill", "mcp"]}}). This is the recommended approach for structured long-term projects, allowing fine-grained control over permissions.Claude --dangerously-skip-permission: Launches Claude Code without asking for any permissions. Use with extreme caution, especially for experimental or testing purposes, as it grants Claude Code full autonomy.Shift + Tabin Claude Code: Toggles automatic permission acceptance within the current session.
6. The .Claude/Claude.md File: Your Project’s Blueprint
This Markdown file acts as the primary instruction manual for Claude Code within your project. When Claude Code starts, it reads this file to understand the project’s goals, architecture, and constraints. You can initiate this file using the /init command in Claude Code, which generates a basic structure based on your current project. This makes Claude Code aware of your project’s context, guiding its development process.
7. Skills: Expanding AI Capabilities
Skills are specific competencies you equip Claude Code with. These are modules that provide specialized knowledge or tools, which Claude Code can invoke automatically or upon your explicit command.
How Skills Work:
- A skill is a directory containing a
skill.mdfile (a concise description for Claude Code’s context) and potentially scripts (e.g., Python) or API documentation. - When a skill is loaded, only its overview (
skill.md) is added to Claude Code’s context, keeping it lean. The full skill content is only loaded when Claude Code determines it’s relevant to a task.
Acquiring Skills:
- Community Marketplaces: Instead of building skills from scratch, leverage existing ones from the Claude Code community.
- Official Anthropic Skills: Anthropic, the creators of Claude Code, provide official skill sets. For example, the “Front-end Design” skill can significantly improve the aesthetic quality of generated interfaces.
- To install:
/plugin marketplace add anthropic-skills/skillsthen use/plugin discoverto find and install specific skills to your user profile or project.
- To install:
8. MCP (Modest Context Protocol): Bridging AI to External Tools
MCPs are a standard protocol that allows AI agents to interact with external tools and services. They act as a bridge between Claude Code and various technologies.
Key MCPs to Consider:
- Playwright: This MCP gives Claude Code control over a web browser (e.g., Chrome, Firefox). Playwright enables Claude Code to:
- Open web pages.
- Interact with websites like a human.
- Perform automated testing (e.g., checking responsiveness on different screen sizes).
- Fill out forms.
- Take screenshots.
- This eliminates the need for manual screenshots or descriptions during UI adjustments.
- To install:
/plugin marketplace add playwright-driverthen/plugin discoverto find and installplaywright-driver. You’ll also need to install Playwright itself vianpm install -g playwrightin your terminal.
- Context 7: Provides Claude Code with access to up-to-date documentation for various programming languages, libraries, and frameworks. This prevents the AI from using outdated information.
- To install:
/plugin marketplace add context-7then installcontext-7. - Recommendation: Add a rule to your
.Claude/Claude.mdfile to instruct Claude Code to “always use Context 7 when generating code” to ensure it refers to the latest documentation.
- To install:
- Database MCPs: If your application uses a database (e.g., Airtable, Supabase), you can install specific MCPs to allow Claude Code to interact with it, reading, writing, or modifying data.
Important Note on MCPs: Be judicious about the MCPs you load. Each MCP consumes context tokens. Only load what’s immediately necessary to keep your context lean and preserve performance.
9. Subagents: Specialized AI Experts
Subagents are specialized AI entities that Claude Code can delegate specific tasks to. Each subagent has its own isolated context, preventing it from consuming the main Claude Code session’s tokens.
Benefits of Subagents:
- Isolated Context: Subagents operate in their own context, returning only the final result to the main session, keeping the primary context clean.
- Specialized Expertise: Subagents can be experts in specific domains (e.g., design, architecture, debugging, SEO, testing).
- Reusable and Shareable: Similar to skills, subagents are often self-contained directories that can be reused across projects or shared within communities.
Managing Subagents:
/agent: Lists available subagents and allows you to create new ones directly within Claude Code.- Community Subagents: Like skills, you can find pre-built subagents in marketplaces specifically designed for various tasks.
10. Hooks: Event-Driven Automation
Hooks are deterministic automations within Claude Code. They are commands that execute automatically at specific pre-defined moments or in response to certain events (e.g., before an tool is used, after a subagent finishes, when Claude Code seeks permission, at the start/end of a session).
Use Cases for Hooks:
- Notifications: Send a Slack or Telegram notification when a long-running task completes.
- Automated Security Checks: Launch a security scanning subagent after code generation.
- Version Control Reminders: Automatically prompt you to commit and push changes to GitHub before closing the session.
While not immediately essential for beginners, hooks offer powerful automation capabilities as you become more proficient with Claude Code.
11. Plugins: Bundling Functionality
A plugin is a collection of one or more of the above elements: skills, custom slash commands, MCPs, subagents, and hooks. Plugins allow for extending Claude Code’s functionality with custom features that aren’t natively supported.
Leveraging Plugins:
- Community Plugins: Always check community marketplaces for existing plugins that meet your needs before building your own. This leverages optimized and pre-tested solutions.
- Marketplaces: These are repositories of plugins. You can add multiple marketplaces to your Claude Code environment, each offering a variety of plugins.
The Structured Development Workflow: From Idea to Deployment
Instead of the chaotic “vibe coding” approach (trying to generate an entire application with a single, massive prompt), a structured workflow is key to success with Claude Code. This approach emphasizes planning, validation, and incremental development.
Phase 1: Discover (What to build?)
This phase focuses on defining the “what” and “why” of your application.
1.1 Independent Discovery:
- What to build? Define the core functionalities of your application.
- What’s the objective? Is it an MVP (Minimum Viable Product), a personal tool, a client test, an added feature to an existing application, or a production-ready application?
- Functional Breakdown: Categorize features into:
- MVP: Essential functionalities to launch.
- V1: Important additional features.
- V2: Bonus features for later.
- Out of Scope: Features deliberately excluded.
Example: Building a CRM dashboard.
- MVP: CSV upload, display key performance indicators (KPIs) like total pipeline, average deal value, and a simple chart of deals by stage.
- V1: Add probability-weighted pipeline, comprehensive interactive table with sorting/filtering.
- V2: Advanced filters, local persistence.
- Later: Database integration, historization, new prospect forms.
- Out of Scope: Authentication, multi-user management, payment systems.
1.2 LLM-Assisted Discovery:
- Engage with an LLM (e.g., ChatGPT, Gemini, Claude Code directly): Provide your initial ideas and ask for suggestions, alternative functionalities, or even a basic, exploratory “vibe coded” version. The goal here is to expand your thinking and identify opportunities or potential pitfalls you might have missed. Don’t be afraid to generate and discard code at this stage; the cost is minimal.
- Refine your requirements: Continuously discuss with the LLM, accepting or rejecting its suggestions, and refining your functional breakdown until you have a clear, agreed-upon set of features.
- Generate PRD: Upon completion, ask the LLM to format your discussion into a Product Requirement Document (PRD) in Markdown format (
.md). This document clearly outlines the product’s objective, features (functional and non-functional), and requirements.
Phase 2: Plan (How to build it?)
This phase defines the “how” through technical architecture.
2.1 Claude Code-Assisted Architecture Planning:
- Engage Claude Code in “Plan Mode”: Use
Shift + Tabto switch to “Plan Mode” and appendthink hard(orthink harder,ultra thinkfor deeper analysis) to your prompt. - Prompt Claude Code: Provide your PRD (
@prd.md) and ask Claude Code for an ideal technical stack. Request it to compare options, evaluate them against criteria (e.g., performance, developer experience, scalability, ecosystem maturity), and recommend a final choice. - Iterate and Refine: Collaborate with Claude Code, providing feedback on its recommendations. For example, if it suggests a stack that requires future migration, clarify your long-term vision (e.g., initial CSV, future database) to guide its architectural choices.
- Generate Architecture Document: Once satisfied, ask Claude Code to document the chosen technical stack, design patterns, deployment strategy, and any relevant technical considerations in an
architecture.mdfile.
Optional: Architecture Review: You can install a specialized subagent (e.g., “Architect Reviewer” from the Copson agent marketplace) to review your generated architecture for potential issues or optimizations.
Key takeaway: This planning phase ensures your initial foundations are solid, preventing costly refactoring later.
Phase 3: Setup (Preparing the Environment)
This phase prepares your development environment for efficient and collaborative work.
- Configure Permissions (
.Claude/settings.json):- Create a
.Claudefolder and asettings.jsonfile inside it. - Define the baseline permissions Claude Code needs (read, write, web fetch, git, etc.).
- This avoids constant manual confirmations and ensures consistent behavior, especially in team settings.
- Important: Never grant Claude Code permission to delete files/directories without confirmation, or be extremely cautious if you do.
- Create a
- Version Control with GitHub:
- Purpose: GitHub acts as your code’s “Google Drive,” providing version history, collaboration features, and a backup.
- Connect Claude Code to GitHub:
- Prompt Claude Code: “Connect my project to GitHub and enable me to push code. Please exclude
.envfiles from being pushed.” - Claude Code will guide you through initializing a Git repository and connecting it to a new or existing GitHub repository.
- Manual GitHub Repo Creation: If automatic setup fails, create a new repository directly on GitHub (e.g.,
github.com/new), make it private or public as needed, and copy the.gitURL. Provide this URL to Claude Code when prompted.
- Prompt Claude Code: “Connect my project to GitHub and enable me to push code. Please exclude
- Workflow: Use
committo save local changes andpushto upload them to GitHub. Claude Code can automatically generate descriptive commit messages.
- Environment Variables (
.envfiles):- Purpose: Securely store sensitive information like API keys, database credentials, and other configuration settings.
- Generation: Prompt Claude Code to create a
.env.examplefile based on your PRD and architecture. This provides a template for required environment variables. - Local Use: Create a
.envfile (copied from.env.example) on your local machine to store actual sensitive values. This file is automatically excluded from GitHub by Git (via.gitignore). - Deployment: For production, environment variables are typically configured directly on your deployment platform (e.g., Vercel).
- Integrate Open Spec:
- Open Spec is a spec-driven development framework that ensures your project is always guided by clear specifications.
- Installation: Install Open Spec globally using npm (
npm install -g open-spec). - Initialization: In your project directory, run
open-spec initand selectClaude-codeas your agent. - Populate
project.md: Prompt Claude Code to fillproject.md(within the.open-specfolder) with details from your PRD and architecture. - Configure
.Claude/Claude.mdwith Open Spec details: Add instructions to your mainClaude.mdfile about using specific visual styles, preferring existing components, and always using Context 7 for code generation. Crucially, instruct it to use Playwright Skill for UI testing after each interface development.
- Install Necessary MCPs and Skills:
- Context 7: For up-to-date documentation.
- Playwright (MCP and Skill): For automated UI testing.
- Front-end Design Skill: To enhance UI aesthetics.
- Only install MCPs/skills when they are directly needed, and remove them if they are no longer in active use to keep your context footprint minimal.
Phase 4: Build (Iterative Development)
This is the core development phase, executed functionality by functionality using the Open Spec framework.
- Propose a Feature:
- Clear Context: Start each development cycle with
/clearin Claude Code. - Open Spec Proposal: Prompt Claude Code:
open-spec proposal "Implement [specific feature] from the [MVP/V1/V2] defined in @prd.md"(e.g.,open-spec proposal "Implement CSV upload and macro KPI display from the MVP defined in @prd.md"). - Claude Code will generate a detailed proposal in the
.open-spec/changesdirectory, including:- A new sub-directory (e.g.,
add-mvp-dashboard). specfolder: Contains detailed specifications for each sub-part of the feature.tasks.md: A list of granular tasks Claude Code will perform.proposal.md: A summary of the proposed changes and architecture modifications.
- A new sub-directory (e.g.,
- Clear Context: Start each development cycle with
- Validate the Specification:
- Your Role as Product Manager: Read the
specfiles carefully. Ensure Claude Code’s interpretation aligns with your requirements. - Feedback: If anything is incorrect or missing, provide clear instructions to Claude Code to modify the proposal (
"Please adjust the spec for [X] to [Y]") until you are satisfied.
- Your Role as Product Manager: Read the
- Implement the Feature:
- Apply the Proposal: Once the spec is validated, prompt Claude Code:
open-spec apply [name-of-change](e.g.,open-spec apply add-mvp-dashboard). - Claude Code will execute the tasks defined in
tasks.md, generating code, setting up infrastructure, and potentially running unit tests. - Monitor and Test: Keep an eye on Claude Code’s progress. If it encounters errors, it will try to self-correct. If it doesn’t automatically run UI tests, prompt it to use Playwright (e.g.,
"Please use Playwright Skill to test the UI for this new feature").
- Apply the Proposal: Once the spec is validated, prompt Claude Code:
- Test and Validate (Manually):
- Launch Locally: Claude Code will typically instruct you on how to run your application locally (e.g.,
npm run dev). - Thorough Testing: Manually interact with the new feature in your browser. Upload sample data, check UI responsiveness, and ensure it behaves as expected.
- Debugging: If you find issues, provide Claude Code with the error messages or describe the unexpected behavior, and it will attempt to debug and resolve them.
- Launch Locally: Claude Code will typically instruct you on how to run your application locally (e.g.,
- Archive the Change:
- Finalize Feature: Once the feature is fully implemented and tested to your satisfaction, prompt Claude Code:
open-spec archive [name-of-change](e.g.,open-spec archive add-mvp-dashboard). - Open Spec will move the change directory to
_archiveand update the mainspec/index.md(your project’s global specification) to reflect the newly implemented feature. This keeps your central specification always up-to-date.
- Finalize Feature: Once the feature is fully implemented and tested to your satisfaction, prompt Claude Code:
- Commit and Push to GitHub:
- Version Control: Prompt Claude Code:
"Commit and push these changes to GitHub." - Claude Code will generate a comprehensive commit message summarizing the implemented feature and push the changes to your GitHub repository.
- Version Control: Prompt Claude Code:
- Repeat: Return to step 1 and begin the process for the next feature (e.g., the V1 features from your PRD). This iterative loop ensures controlled, high-quality development.
Deployment with Vercel (CI/CD):
- Continuous Deployment: Connect your GitHub repository to a deployment platform like Vercel (a popular, free-tier hosting service for web applications).
- Automated Builds: Vercel will automatically detect changes in your GitHub
mainbranch. Every time you push a new commit, it will rebuild and redeploy your application, making your latest features available online within minutes. - Preview Deployments: Vercel also supports preview deployments for feature branches, allowing you to test new features in a live environment without affecting your main production site.
Conclusion
This masterclass has provided a roadmap to harnessing the power of Claude Code for application and AI agent development. By adopting a structured workflow, leveraging Claude Code’s diverse capabilities (skills, MCPs, subagents, hooks), and integrating it with professional tools like VS Code, GitHub, and Vercel, you can significantly accelerate your development process and build high-quality, tailor-made solutions efficiently.
The journey might seem complex at first, but with consistent practice and a clear understanding of these concepts, you’ll find yourself capable of bringing sophisticated ideas to life, whether you’re a seasoned developer or just starting. Embrace the AI co-pilot, and unlock your potential as a creator in the digital age.
🔍 Discover Kaptan Data Solutions — your partner for medical-physics data science & QA!
We're a French startup dedicated to building innovative web applications for medical physics, and quality assurance (QA).
Our mission: provide hospitals, cancer centers and dosimetry labs with powerful, intuitive and compliant tools that streamline beam-data acquisition, analysis and reporting.
🌐 Explore all our medical-physics services and tech updates
💻 Test our ready-to-use QA dashboards online
Our expertise covers:
🔬 Patient-specific dosimetry and image QA (EPID, portal dosimetry)
📈 Statistical Process Control (SPC) & anomaly detection for beam data
🤖 Automated QA workflows with n8n + AI agents (predictive maintenance)
📑 DICOM-RT / HL7 compliant reporting and audit trails
Leveraging advanced Python analytics and n8n orchestration, we help physicists automate routine QA, detect drifts early and generate regulatory-ready PDFs in one click.
Ready to boost treatment quality and uptime? Let’s discuss your linac challenges and design a tailor-made solution!
Get in touch to discuss your specific requirements and discover how our tailor-made solutions can help you unlock the value of your data, make informed decisions, and boost operational performance!
Comments