The landscape of software development is undergoing a significant transformation, with AI playing an increasingly pivotal role. Traditional development workflows, often involving disconnected interactions with AI models, can lead to cluttered codebases and architectural inconsistencies. This is where structured frameworks like the BMAD (Brainstorming, Architecture, Development) method, powered by AI agents, come into play. This method promises to dramatically accelerate development cycles, reducing project timelines from weeks to mere days.
This article delves into the BMAD method, explaining its core principles, highlighting its advantages over conventional AI-assisted development, and providing a detailed, step-by-step demonstration of its application using the Antigravity tool.
What is the BMAD Method?
Before the BMAD method, developers often interacted with AI models (like Gemini) through a series of disconnected prompts. This approach often resulted in a chaotic development process where the AI tackled different parts of the solution without a clear, overarching structure. Without a solid technical architecture or project management experience, users could easily encounter errors, leading to substantial re-work.
The BMAD method, in contrast, introduces a structured, agent-based approach to development. Imagine a team of specialized AI agents—developers, architects, project managers, product managers—working collaboratively through a series of defined stages. This mirrors a real-world project team, ensuring a sequential and logical development process.
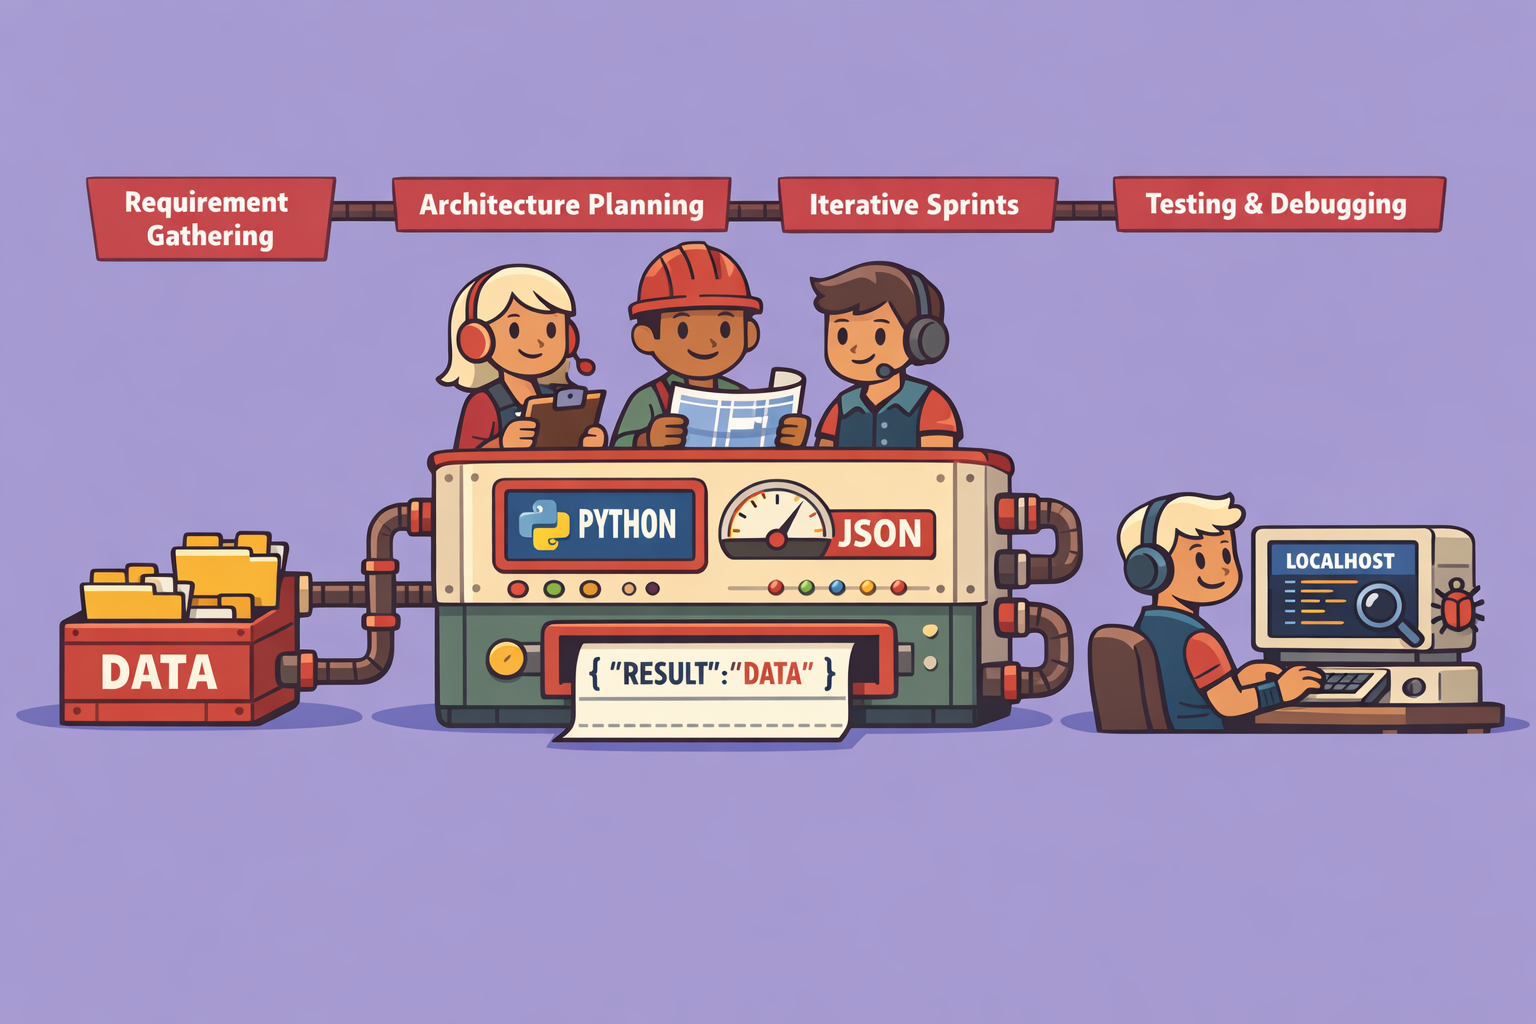
The core workflow of the BMAD method can be broken down into four main phases:
- Discovery (Optional): This initial phase helps refine unclear project ideas. It includes brainstorming, research, and product brief generation to guide the developer.
- Planning: This phase involves creating a Product Requirements Document (PRD), outlining user interface (UI) and user experience (UX) designs, and establishing the project roadmap.
- Solutioning: Here, the architectural choices are made, technical decisions are validated, and the development process is meticulously designed.
- Implementation: This is where the actual coding happens, broken down into sprints, with continuous code reviews and testing.
A key advantage of BMAD is its emphasis on step-by-step progression. Developers don’t jump straight into coding. Instead, they first gather requirements, then design the architecture, and only then proceed to implementation. This structured approach, combined with immediate testing after each sprint (either via a local server or a connected test solution), allows for real-time error identification and correction, significantly streamlining the debugging process.
The Evolution of AI Development Frameworks
The current generation of Large Language Models (LLMs) are highly capable of generating quality code. However, many common errors don’t stem from the LLM’s limitations but from poorly defined instructions provided by users who may lack development or architectural expertise.
Frameworks like BMAD address this by providing a structured environment that guides the LLM, preventing common pitfalls. In the near future, we can expect to see specialized frameworks tailored to specific industries. For example, a framework for medical data management could include regulatory questions around data compliance, patient data hosting, and specific security protocols within its PRD questions, ensuring that the LLM operates within predefined industry standards.
Step-by-Step BMAD Method Demonstration with Antigravity
This demonstration illustrates how to use the BMAD method with Antigravity to develop a mobile application for generating on-site quotes.
1. Project Initialization
- Create a New Project Folder: Begin by creating an empty folder for your new project.
- Open in Antigravity: Open this folder within the Antigravity environment.
- Install BMAD:
- Access the BMAD GitHub repository (link usually provided in the documentation).
- Copy the installation command (e.g.,
npx bmad init). - Open the terminal in Antigravity and paste the command.
- Follow the on-screen prompts, selecting your project folder, confirming workflow installations, and specifying Antigravity as your tool. This will install the BMAD framework.
- Note: If it’s your first time, you might need to install
npxdependencies.
2. Workflow Initialization and Project Definition
- Initialize Workflow: Instead of directly using the terminal, leverage the “Agent” window in Antigravity. Type
workflow initand send it to the agent. This allows Antigravity to manage the different AI agent roles automatically. - Choose Guided Method: When prompted, select the guided method (option
2) for a comprehensive walkthrough. - Define Project Goal: Clearly articulate your project. For this example: “I want to create a mobile application that allows me to generate quotes on-site for clients, including direct client signatures, email sending, product/service management, and handling of different VAT levels. It must work offline.”
- Select BMAD Recommended Method: Choose the recommended BMAD method (option
1) for a complete workflow from scratch. - Engage in Discovery (Optional): The agent will suggest an optional discovery phase (brainstorming, research, product brief). For this demo, we’ll choose to engage in brainstorming to explore potential features.
- When prompted to “start a new conversation with the analyst agent,” simply instruct Antigravity: “Do it for me.”
- Choose to brainstorm on the “entire application.”
- Opt for “AI-recommended techniques” (option
2) to get suggestions like mind mapping and role-playing.
3. Product Requirement Document (PRD) Generation
- Skip Brainstorming to PRD: If you’re satisfied with the brainstorming or want to move forward, tell the agent to “stop brainstorming and move to PRD.”
- Product Manager Agent Takes Over: The agent will switch roles to “PM” (Product Manager). Confirm to proceed with the PRD generation.
- Greenfield Project: The agent will identify your project as “Greenfield” (from scratch). If you had existing documents (e.g., screenshots or competitor analyses), you could have added them to the folder to inform the AI.
- Confirm Project Scope: The agent will summarize your project (mobile app, offline/online, construction/maintenance sector, medium-high complexity due to digital signature, VAT logic, PDF generation, offline synchronization). Confirm if this is accurate.
- Define Success Criteria: The agent will propose success criteria (developer-side, user-side, professionalism). Review them, suggest additions or removals, and confirm.
- Define MVP (Minimum Viable Product): The agent will outline the core features for the first version (quote creation, signature, PDF generation, basic data management for products/services/VAT). It will also suggest future features (V2, V3) like accounting software integration, device synchronization, and advanced analytics. You can challenge these suggestions if their priority doesn’t align with your vision.
- User Journey Mapping: The agent will present user stories (e.g., a stressed electrician getting a quote on-site, a technician in a basement with no coverage, an admin updating prices). Confirm if these scenarios cover the main use cases.
- Complete the PRD: The agent will continue detailing functional and non-functional requirements. At each step, confirm or challenge its output. The system will generate a comprehensive PRD document in Markdown format, detailing the executive summary, success criteria, user journeys, project scope, functional and non-functional requirements, and technical considerations.
4. Architecture Design
- Transition to Architecture: Instruct the agent to “forget the user experience phase and move directly to architecture.” The architect agent will then analyze the PRD.
- Technical Clarifications: The agent will ask for clarifications on technical aspects (native vs. cross-platform, offline capabilities, camera/GPS usage, notifications, App Store distribution). Provide your preferences (e.g., “keep it simple and efficient”).
- Receive Architectural Recommendations: The agent will propose a technical stack (e.g., React Native for cross-platform, an embedded database for offline support). You can challenge these recommendations if you have alternative preferences (e.g., Node.js for backend, Firebase for cloud storage).
- Architectural Document: The system will generate an architectural document, outlining the chosen stack, implementation rules, and the initial project structure.
5. Implementation Phase (Sprints and Development)
- Proceed to Implementation: Once the architecture is finalized, confirm to the agent that you wish to “proceed with implementation.”
- Project Context Generation: The agent will generate a project context document, which helps all coding agents maintain consistency in coding conventions and technical choices.
- Start Initial Project Build: The agent will begin initializing the project, creating the repository structure, sub-directories, and installing dependencies. This step can take a few minutes.
- Test the Initial Build: After the initial build, the agent will prompt you to test the solution.
- Instruct the agent to “do the test for me.”
- It will launch a test server and ask you to scan a QR code with your phone (for iOS) or type
Win the terminal to test in web mode. ChooseWfor web testing. - Antigravity will open a new tab in your browser, typically on
localhost:8081, displaying your application. - Troubleshooting - Blank Screen: If you encounter a blank screen, it might be due to database compatibility issues with web browsers. The agent will attempt to add a specific adapter. If the blank screen persists, refresh the page.
- Debugging Console Errors: If you still see a blank screen or experience errors, open the browser’s developer console (right-click -> Inspect -> Console). Copy any red error messages and send them back to the agent in Antigravity. The agent will diagnose and attempt to fix the error (e.g., Babel configuration,
package.jsonissues). - Important: Connect your project to GitHub (via source control) early to save changes and prevent data loss.
- Continuous Development and Iteration:
- Once the initial setup is working (e.g., a simple screen with a “My Quotes” button), inform the agent, “It works. Proceed to the next development step.”
- The agent will move to the next item on its implementation plan (e.g., building a form for new quotes).
- Continuously monitor the application in your browser. If you encounter errors, copy the console output or take a screenshot and send it to the agent for debugging.
- Repeat this iterative process: develop, test, debug, and advance through the planned sprints until your full application is built.
By diligently following these steps and leveraging the structured interaction with AI agents, you can efficiently build complex applications, minimizing common development hurdles and significantly speeding up your project delivery.
🔍 Discover Kaptan Data Solutions — your partner for medical-physics data science & QA!
We're a French startup dedicated to building innovative web applications for medical physics, and quality assurance (QA).
Our mission: provide hospitals, cancer centers and dosimetry labs with powerful, intuitive and compliant tools that streamline beam-data acquisition, analysis and reporting.
🌐 Explore all our medical-physics services and tech updates
💻 Test our ready-to-use QA dashboards online
Our expertise covers:
🔬 Patient-specific dosimetry and image QA (EPID, portal dosimetry)
📈 Statistical Process Control (SPC) & anomaly detection for beam data
🤖 Automated QA workflows with n8n + AI agents (predictive maintenance)
📑 DICOM-RT / HL7 compliant reporting and audit trails
Leveraging advanced Python analytics and n8n orchestration, we help physicists automate routine QA, detect drifts early and generate regulatory-ready PDFs in one click.
Ready to boost treatment quality and uptime? Let’s discuss your linac challenges and design a tailor-made solution!
Get in touch to discuss your specific requirements and discover how our tailor-made solutions can help you unlock the value of your data, make informed decisions, and boost operational performance!
Comments