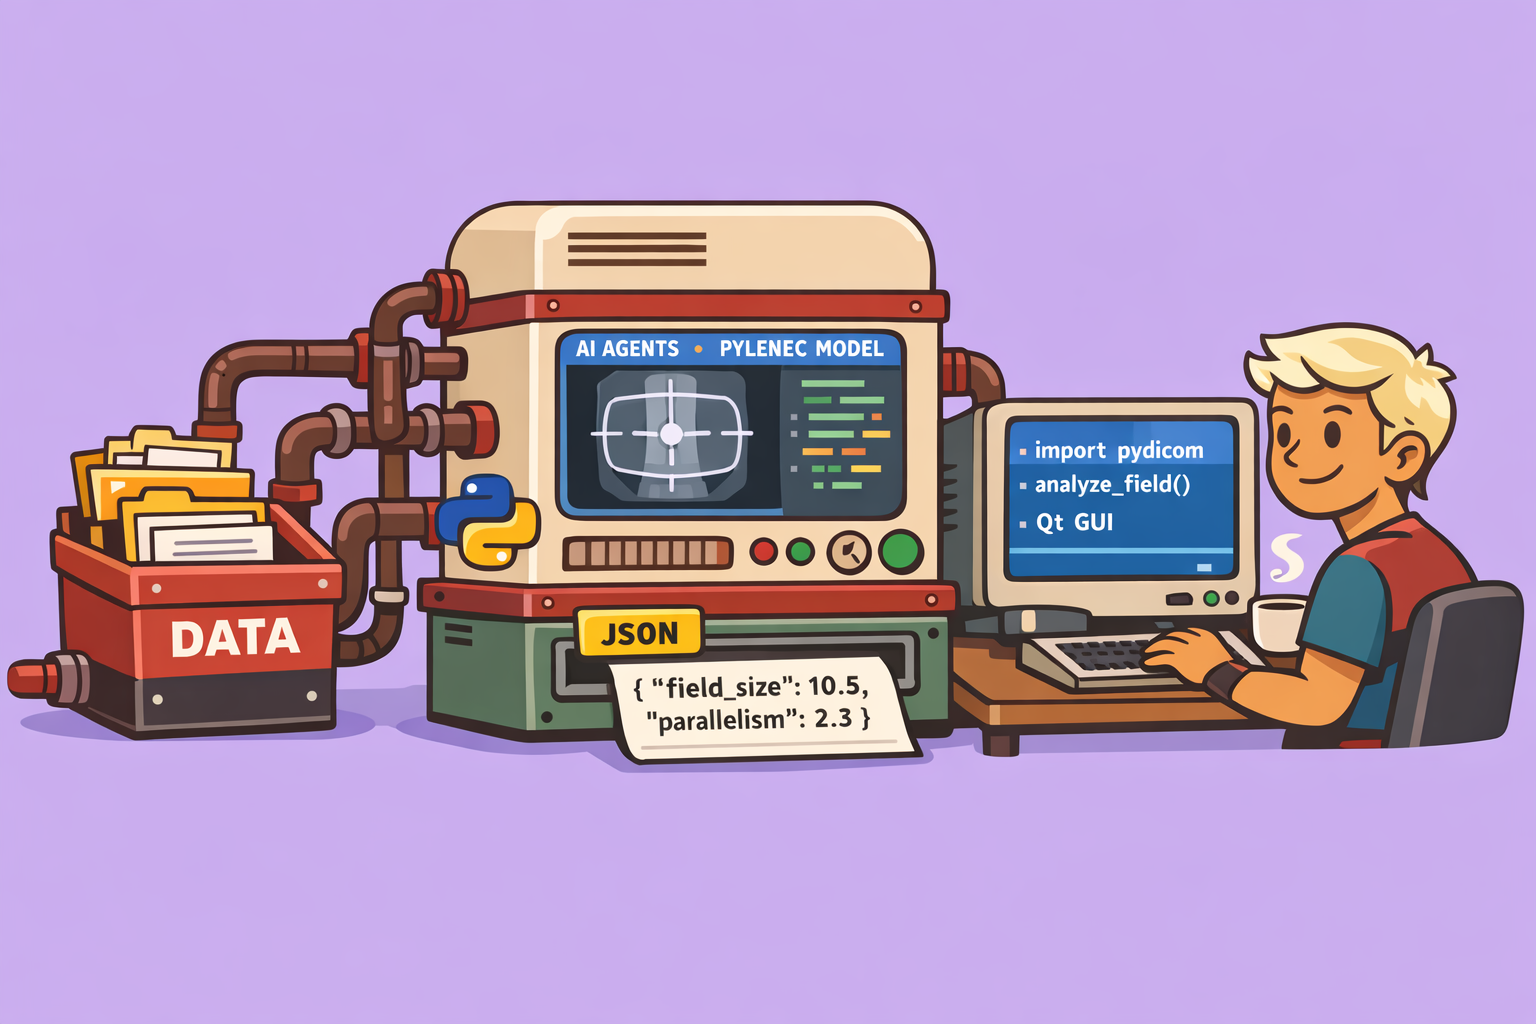
In the realm of medical physics, quality assurance (QA) is paramount. Automating routine tasks, such as field size analysis from DICOM images, can significantly enhance efficiency and accuracy. This blog post details how to leverage AI agents to quickly generate a Graphical User Interface (GUI) application for DICOM field analysis, building upon existing Python libraries like pylinac.
The Power of AI Agents for Application Development
Traditionally, building a GUI application involves extensive coding, debugging, and iterative refinement. However, with the advent of AI agents, this process can be significantly streamlined. These agents can interpret high-level instructions, understand context, and even self-correct errors, accelerating development cycles.
For this demonstration, we’ll use an AI agent to create a dedicated application for field analysis based on DICOM images, specifically using the pylinac library’s capabilities.
Step-by-Step Guide to Building the Field Analysis Application
Prerequisites
Before you begin, ensure you have the AI agent environment set up. While the demo uses a specific IDE with integrated AI agents, the general principles apply to various agent-based development platforms.
- Install the AI Agent Environment: Search for “anti-gravity” (or your chosen AI agent development environment) online and follow the installation instructions for your operating system (Windows, macOS, Linux). This typically involves downloading and running an executable file and accepting the terms.
- Understand
pylinac: Thepylinaclibrary is crucial for this application. It provides pre-built functionalities for various QA tasks, including field profile analysis. Ensure you understand its structure and the specific modules required for field analysis (field_profile_analysis.py,field_analysis.py, andpdf.pyfor report generation).
Procedure
Step 1: Define the Project and Instructions
- Open Your Project: In your AI agent IDE, open the folder where your
pylinacfiles (or relevant Python scripts) are located. This allows the AI agent to access these files. - Provide High-Level Instructions: You can start with basic instructions, but for better, faster results, provide clear and detailed specifications for the GUI.
- Simple Approach (Less Efficient): “Create a GUI application for DICOM field analysis. It should have a DICOM image viewer and profile windows.”
- Detailed Approach (Recommended): Specify the layout, components, and libraries. For instance:
- “The application needs to analyze DICOM images for field analysis.”
- “The diagnostic viewport should be in the top-left corner.”
- “Use
PyQtGraphfor DICOM canvas to plot graphs from DICOM images.” - “Include an interactive cross-wire for the DICOM image viewer.”
- “Ensure the application utilizes
field_analysis.py,field_profile_analysis.py, andpdf.pyfrom thepylinacmodel to generate PDF results.” - “The UI should include a file management section, a ‘Load DICOM’ button, and image controls for window width and level.”
- “Add dropdowns for various protocols (e.g., variance, electric) and beam/geometry centering options.”
- “Include edge detection methods (e.g., full width at maximum, inflection).”
- “Ensure the final results are generated in a PDF format.”
Step 2: Agent Processing and Implementation Plan
- Agent Analysis: The AI agent will now analyze your instructions and the existing project files. It will automatically check for the specified
pylinacfiles and understand their role. - Implementation Plan: The agent will generate an “implementation plan,” which outlines the structure of the application. This plan typically details:
- The main application structure.
- The Python libraries it intends to use for the user interface (e.g., PyQt).
- How sections will be divided (e.g., control sidebar, image viewer, analysis panel, file management).
- Details on specific UI elements like buttons, sliders, and dropdowns.
- Review and Proceed: Carefully review the implementation plan. If it aligns with your vision, instruct the agent to “proceed.”
Step 3: Code Generation and Execution
- GUI Code Generation: The AI agent will begin generating the Python code for your GUI application. This process can take some time, especially for complex applications. It automatically writes the necessary UI elements, logic connections, and integration with the
pylinacfunctions. - Initial Run and Error Correction:
- Once the agent finishes generating the code (e.g.,
field_analysis_GA.py), try to run the application. - Expect Errors: It’s common to encounter errors during the initial run, such as “Module Not Found” (e.g., for
numpyormatplotlibif not installed). - Instruct the Agent to Fix: Copy the error message and provide it to the AI agent with a command like “Fix this issue.” The agent will analyze the error, identify missing dependencies, or correct syntactical mistakes. It might suggest
pip installcommands for missing libraries. - Iterative Correction: The agent can often self-correct iterative errors, going back and refining the code until it runs successfully.
- Once the agent finishes generating the code (e.g.,
Step 4: Application Usage and Validation
- Loading DICOM Files: Once the application launches, use the “Load DICOM” button to select your DICOM image files.
- Analysis and Visualization: The application will display the loaded image. Use the various controls (window width/level, centering options, edge detection) to configure the analysis.
- Perform Analysis: Click the “Analyze” button. The application will process the image using the integrated
pylinacfunctions and display the results, often as in-plane and cross-plane profiles. - Report Generation: If the initial instructions included report generation, check for a “Generate Report” or “Save PDF” button. If missing, iterate with the AI agent to add this functionality.
- Validation and Refinement:
- Verify Results: Crucially, validate the analysis results. In the example, an initial check revealed that the application mislabeled “in-plane” and “cross-plane” profiles.
- Identify Code Blocks: Locate the specific section of the generated code responsible for defining and labeling these profiles.
- Instruct the Agent for Correction: Provide precise instructions to the AI agent to fix the mislabeling. For instance, “Correct the identification of in-plane and cross-plane profiles in the code.”
Beyond Field Analysis: Extending Functionality
This process is highly adaptable. You can use similar methods to:
- Parallelism of Jaws Analysis: If you have existing code (e.g., pure image-based analysis for jaw parallelism), you can instruct the AI agent to build a GUI around it. This involves providing large field DICOM images (e.g., 30x30 or 35x35 cm) for analysis.
- Flame Image Analysis: While DICOM is preferred, you can analyze flame images by first converting them to DICOM format using a separate conversion code. Ensure the flame images are perfectly scanned without sharp points or bends.
Conclusion
AI agents significantly change the landscape of application development, particularly for specialized tools in fields like medical physics. By providing clear instructions and iteratively refining the generated code, even complex GUIs can be created quickly. However, the role of human expertise remains paramount in validating the output and ensuring that the application performs as intended, especially in critical domains like medical QA. This approach allows physicists and developers to focus on the logic and accuracy of the analysis rather than the tedious details of GUI coding.
🔍 Discover Kaptan Data Solutions — your partner for medical-physics data science & QA!
We're a French startup dedicated to building innovative web applications for medical physics, and quality assurance (QA).
Our mission: provide hospitals, cancer centers and dosimetry labs with powerful, intuitive and compliant tools that streamline beam-data acquisition, analysis and reporting.
🌐 Explore all our medical-physics services and tech updates
💻 Test our ready-to-use QA dashboards online
Our expertise covers:
🔬 Patient-specific dosimetry and image QA (EPID, portal dosimetry)
📈 Statistical Process Control (SPC) & anomaly detection for beam data
🤖 Automated QA workflows with n8n + AI agents (predictive maintenance)
📑 DICOM-RT / HL7 compliant reporting and audit trails
Leveraging advanced Python analytics and n8n orchestration, we help physicists automate routine QA, detect drifts early and generate regulatory-ready PDFs in one click.
Ready to boost treatment quality and uptime? Let’s discuss your linac challenges and design a tailor-made solution!
Get in touch to discuss your specific requirements and discover how our tailor-made solutions can help you unlock the value of your data, make informed decisions, and boost operational performance!
Comments