Medical physicists and dosimetrists working in radiotherapy face a growing need for efficient, reproducible, and automated quality assurance (QA) tools. Manual analysis of DICOM images for tests such as Winston-Lutz, Star Shot, Picket Fence, or phantom analysis (CatPhan, Las Vegas, etc.) is time-consuming and prone to variability. Fortunately, the open-source Python library pylinac (originally developed by James Kerns around 2014 and continuously refined by the medical physics community) provides a powerful, TG-142‑compliant framework that automates these analyses with just a few lines of code.
This article walks you through the complete process—from setting up your environment to generating a full PDF report—using the Las Vegas phantom as a concrete example. Whether you are a seasoned physicist or a student new to medical-physics programming, this guide will help you get started immediately.
What is pylinac and why use it?
Pylinac is a free, open‑source Python library designed specifically for DICOM‑based QA in radiotherapy. It supports a wide range of tests:
- Winston-Lutz (isocenter verification)
- Star Shot (collimator/gantry/couch alignment)
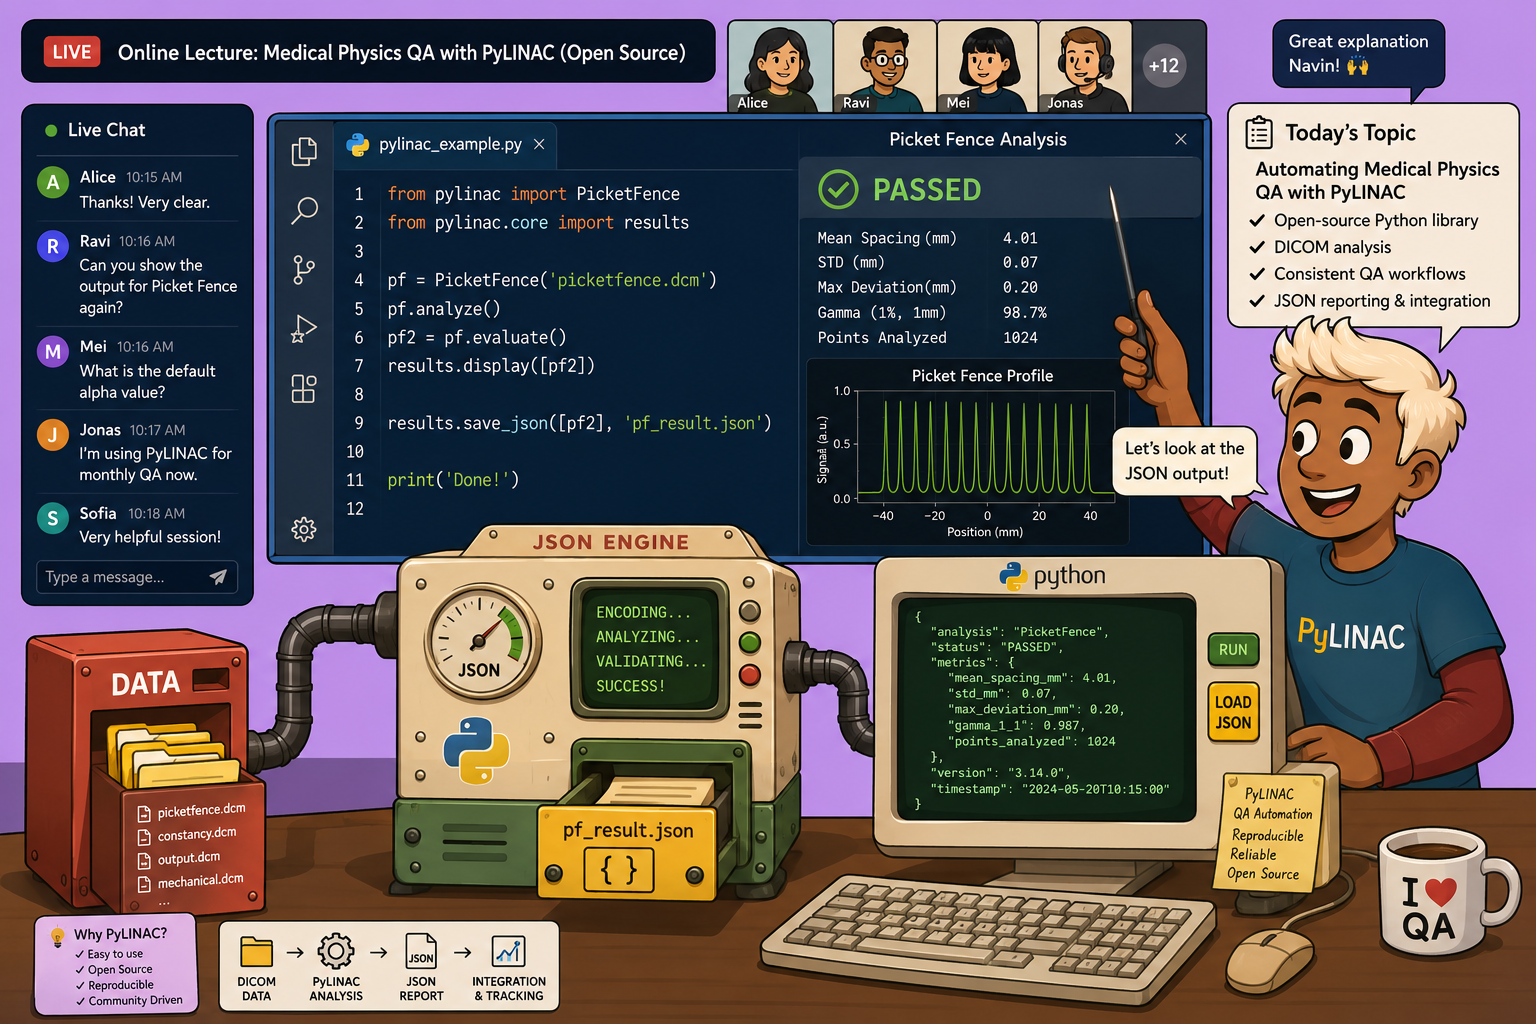
- Picket Fence (MLC leaf positioning)
- VMAT phantom analysis (CatPhan, Las Vegas, etc.)
- Open‑field analysis (flatness, symmetry, penumbra, uniformity)
- Output calibration based on TG‑51 or TRS‑398
The library is built on a modular architecture: an image analysis model handles QA‑specific processing, a core model performs the heavy computation (profile extraction, metric calculation, statistics), and an output model formats results into tables, plots, and PDF reports. This modularity makes debugging and customization straightforward.
What you need before you start
- Python (version 3.10–3.13 recommended)
- PyCharm (Community Edition – free) or any Python IDE of your choice
- A set of test DICOM images (we’ll use the official pylinac test files)
- Basic familiarity with file management and terminal commands
If you haven’t installed Python yet, download it from the official Python website. PyCharm (or VS Code, Spyder, Jupyter) simply provides a graphical interface to write and run Python code more efficiently.
Step 1: Download the test DICOM images
Pylinac comes with a GitHub repository that includes a complete set of test DICOM files. To get them:
- Open your browser and go to the official
pylinacGitHub page (search for “pylinac medical physics QA” if you don’t have the direct link). - Click the green Code button and select Download ZIP.
- Extract the ZIP file on your computer. Inside you will find a folder named
pylinac-mastercontaining subfolders with test images.
For this tutorial we will use the Las Vegas phantom image (file
Las Vegas2.DCM). You’ll find it inside thetest_filesdirectory.
Step 2: Set up your project in PyCharm
- Open PyCharm and click File → New Project.
- Choose Pure Python and make sure the New environment using option is set to Virtualenv (this isolates the project’s dependencies).
- Select your Python interpreter (version 3.10 or later). PyCharm will create a virtual environment automatically.
- Name your project (e.g.,
LasVegas_QA) and click Create.
Once the project is created, you will see three main areas:
- Project pane (left): file explorer
- Editor pane (center): where you write code
- Terminal / Python Console (bottom): where you can run commands and see output
Step 3: Install the pylinac package
In the bottom pane, locate the Python Packages tab (or go to File → Settings → Project → Python Interpreter). Click the + (plus) button, type pylinac, and click Install. PyCharm will download and install the library along with its dependencies (numpy, pydicom, matplotlib, etc.).
Alternatively, you can install pylinac via the terminal:
pip install pylinac
Wait for the installation to finish. You should see a success message with no errors.
Step 4: Place the DICOM image inside your project folder
Find the extracted Las Vegas2.DCM file and copy it. Then, in PyCharm’s project pane, right-click on your project folder and select Paste. The image now resides in the same directory as your future Python script – this makes loading straightforward.
Step 5: Write and run your first analysis script
Create a new Python file: right-click on your project folder → New → Python File. Name it las_vegas_test.py.
Now enter the following four lines of code:
from pylinac import LasVegas

# Load the DICOM image
lv = LasVegas("Las Vegas2.DCM")

# Run the analysis
lv.analyze()

# Print results to console
print(lv.results())

# Generate a PDF report
lv.publish_pdf("las_vegas_report.pdf")
That’s it. Here’s what each line does:
- Import the
LasVegasQA model from the pylinac library. - Create an instance by passing the filename of your DICOM image.
- Call
.analyze()– this triggers the full analysis pipeline: image loading, preprocessing (noise reduction, inversion if needed), region‑of‑interest detection, metric calculation, and pass/fail logic. - Print results to the terminal for quick inspection.
- Generate a PDF with all results, including plots and tables.
To run the script, click the green Run button (or press Shift+F10). PyCharm will execute the code, and you should see the analysis summary in the console. A PDF file named las_vegas_report.pdf will appear in your project folder – double‑click it to view the complete report.
If you get an error about a missing module, make sure pylinac is installed in the virtual environment you created for this project (not globally).
Step 6: Explore the full power of pylinac with the GUI
The test files you downloaded also include a graphical user interface (GUI) for pylinac. In the pylinac-master folder, locate the script linac_qa.pyw. Open it in PyCharm, set the interpreter to your project’s virtual environment, and run it. The GUI gives you point‑and‑click access to all supported QA tests without writing code – ideal for routine use.
If the GUI throws an error about missing
PyQt5, simply install it via the Python Packages tab (search forpyqt5and install the latest version).
Understanding the pylinac architecture (a quick overview)
Pylinac’s design makes it both easy to use and easy to extend. The library is organised into three layers:
- Image Analysis Models – each corresponds to a specific QA test (LasVegas, WinstonLutz, StarShot, etc.). They contain the test‑specific logic for ROI detection, metric computation, and pass/fail criteria.
- Core Models – reusable building blocks for image processing, geometry utilities, profile analysis, and statistics. Every QA model can call these core components.
- Output Model – responsible for formatting results, generating plots, and creating PDF reports.
This layered structure means that if you ever need to customise a test – add a new metric, change a tolerance, or tweak the visual output – you know exactly which module to modify.
Troubleshooting common issues
| Problem | Likely cause | Solution |
|---|---|---|
No module named pydicom |
Pylinac dependencies not installed | Re‑install pylinac in the correct virtual environment |
FileNotFoundError |
DICOM image not in project folder | Copy the .DCM file into the same directory as your script |
k v error (interpreter not visible) |
PyCharm hasn’t finished indexing | Wait for the progress bar to complete; if not, create a new project |
| GUI shows “ModuleNotFoundError” for PyQt5 | PyQt5 missing | Install pyqt5 via the Python Packages tab |
What to do next
Now that you’ve successfully run your first automated QA analysis, you can:
- Explore other test models:
WinstonLutz,StarShot,PicketFence,CatPhan,VMAT, etc. - Replace the Las Vegas image with your own clinical DICOM files.
- Integrate the analysis into a larger automation pipeline (e.g., using n8n, cron jobs, or CI/CD).
Pylinac is actively maintained and well‑documented. Its community of medical physicists continues to add new features and fix bugs, making it a reliable companion for daily QA work.
🔍 Discover Kaptan Data Solutions — your partner for medical-physics data science & QA!
We're a French startup dedicated to building innovative web applications for medical physics, and quality assurance (QA).
Our mission: provide hospitals, cancer centers and dosimetry labs with powerful, intuitive and compliant tools that streamline beam-data acquisition, analysis and reporting.
🌐 Explore all our medical-physics services and tech updates
💻 Test our ready-to-use QA dashboards online
Our expertise covers:
🔬 Patient-specific dosimetry and image QA (EPID, portal dosimetry)
📈 Statistical Process Control (SPC) & anomaly detection for beam data
🤖 Automated QA workflows with n8n + AI agents (predictive maintenance)
📑 DICOM-RT / HL7 compliant reporting and audit trails
Leveraging advanced Python analytics and n8n orchestration, we help physicists automate routine QA, detect drifts early and generate regulatory-ready PDFs in one click.
Ready to boost treatment quality and uptime? Let’s discuss your linac challenges and design a tailor-made solution!
Get in touch to discuss your specific requirements and discover how our tailor-made solutions can help you unlock the value of your data, make informed decisions, and boost operational performance!
Comments